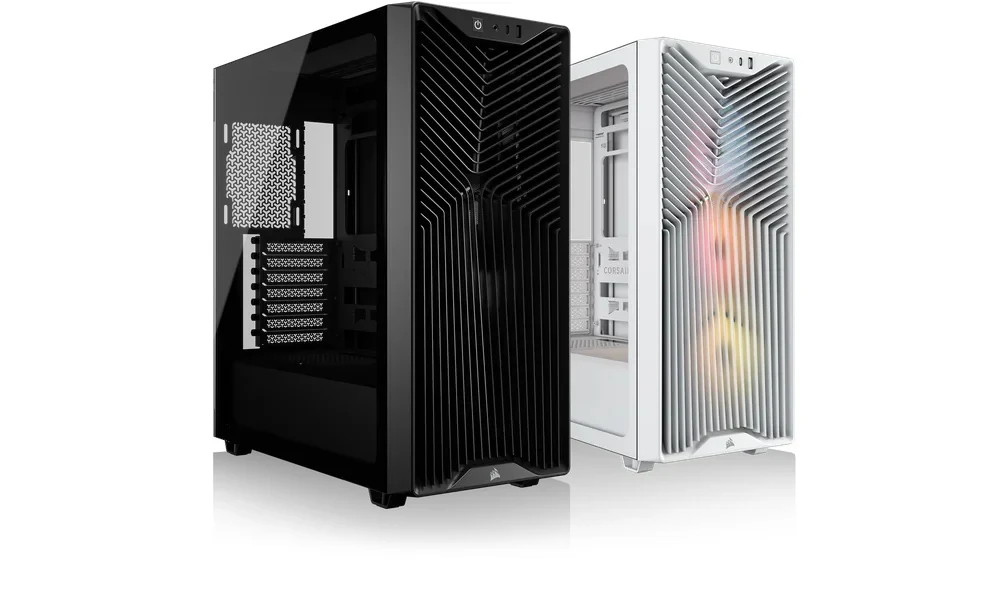
You can keep many existing parts when moving into a CORSAIR 3200D, but the decision depends on the combination you plan to install. Check the motherboard format, cooler height, PSU length and graphics card first. Then choose the radiator position, allocate the shared floor drive mount, and match the case’s front-panel cables to your motherboard headers. In particular, a GPU that fits the stated length limit without a front fan is not automatically proven to fit beside a front radiator.
Make a Keep-or-replace Inventory
Measure or look up the exact models you own rather than relying on what fitted in the old case. Use this as the first pass:
| Retained part | 3200D check | What to record |
|---|---|---|
| Motherboard | Mini-ITX, Micro-ATX or ATX | Exact model, mounting format and available front-panel headers |
| Air CPU cooler | Maximum height: 165mm | Installed cooler height |
| Power supply | Maximum length: 180mm, including CORSAIR SHIFT models | PSU length and a plan for its cables |
| Graphics card | Horizontal installation; maximum length: 375mm with a front fan or 400mm without one | Card length and intended front cooling layout |
| Liquid CPU cooler | Front or top accepts 240mm, 280mm or 360mm radiators | Radiator size, intended mount and nearby component clearances |
| Case-mounted drives | Two SSD mounts behind the motherboard tray; floor mount takes one HDD or one additional SSD | Which drives need case mounts |
These are case limits, not a promise that every combination inside them clears every other part. The 3200D has seven horizontal expansion slots and natively supports only a horizontal GPU installation. It also supports reversed-connector motherboard families including ASUS BTF, MSI Project Zero and GIGABYTE Project Stealth, but that general support does not settle fit or connection details for your exact board. Check its layout and manual before committing to a transfer.
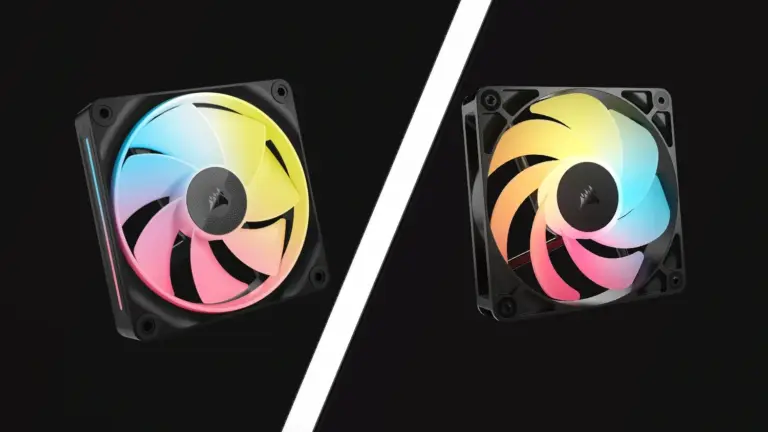
The case comes as the 3200D RS with three pre-installed RS120 fans or the 3200D RS ARGB with three pre-installed RS120 ARGB fans; neither lists an included controller. If retaining your current fans matters, inventory their sizes and connections alongside the fans supplied with the case rather than assuming you need to buy a replacement set. The detailed mounting table lists three 120mm or two 140mm positions at the front, the same at the top, one 120mm rear position and two 120mm positions on the PSU shroud.
Decide on GPU and Radiator Space Together
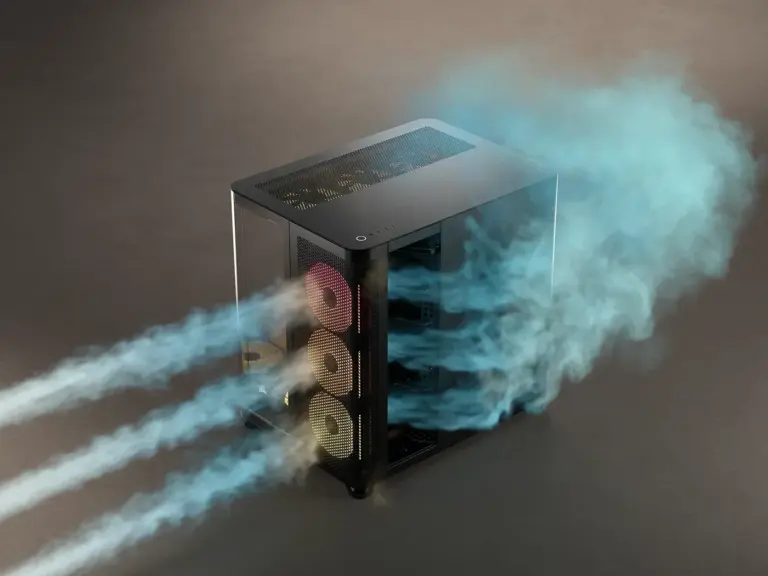
The GPU figures describe two different front-fan conditions: 375mm with a fan, 400mm without a fan. Do not apply 400mm to a build retaining the supplied front fans, and do not treat removing a fan as proof that a front-mounted radiator and its fans will clear a longer card. The case guide gives no numerical GPU-clearance reduction for a front radiator. If you plan that combination, compare the actual card and cooling assembly in the intended positions before treating either published GPU figure as a final fit check.
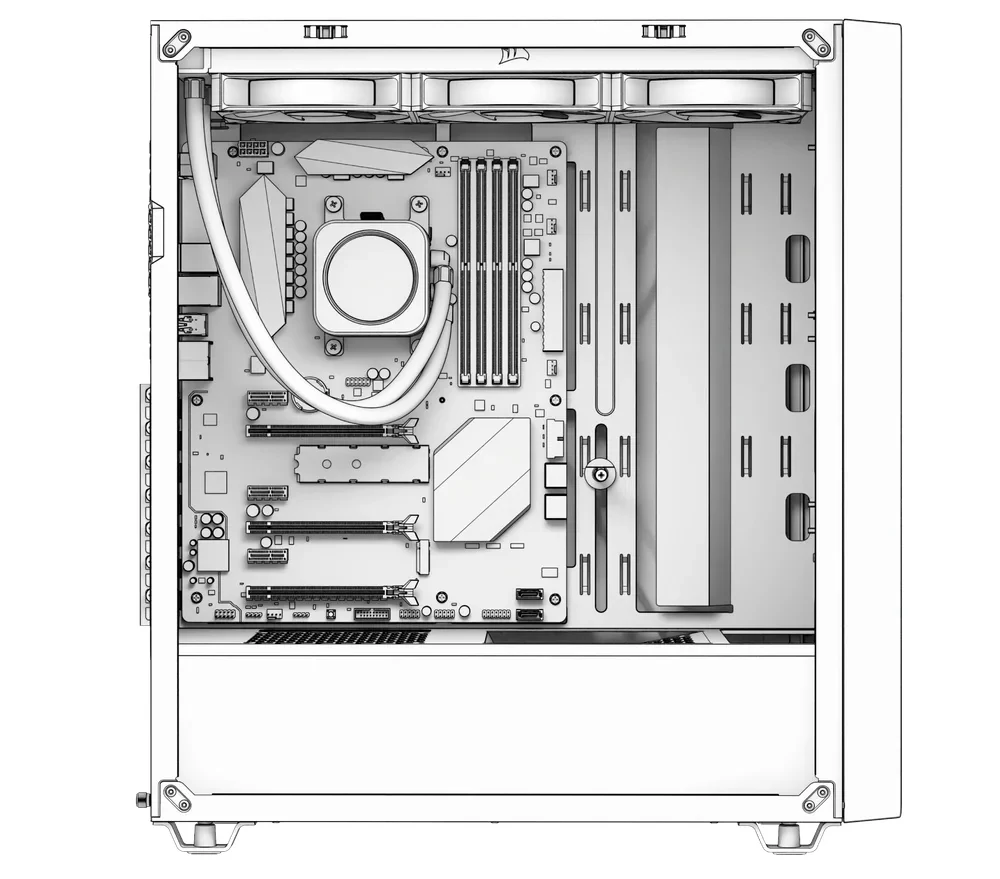
For an existing AIO, both the front and top are listed for 240mm, 280mm and 360mm radiators, but the case does not support two concurrent 360mm radiators. Choose the mounting position as part of your parts inventory, not after ordering other cooling hardware. CORSAIR describes top mounting as favorable for noise performance, while directing owners to their cooler manual for usage guidance. Its guide also advises keeping an AIO radiator higher than its pump. These are installation considerations, not a guarantee about the temperatures or noise of a particular transferred system.
A top radiator introduces another fit check: standard-height or tall memory may interfere. CORSAIR recommends installing the radiator and fans before the memory, and suggests temporarily removing the rear fan and top-front fan for maneuvering room during installation. That order can make assembly easier; it does not create extra RAM clearance. If your retained memory or motherboard heatsinks crowd the top edge, confirm the proposed radiator-and-fan placement before deciding to keep that cooler in the build.
An air cooler avoids the radiator-position decision, provided its installed height is no more than 165mm. You should still check that the GPU, cooler and power cables can be installed as planned; a component meeting one published maximum does not answer every nearby clearance question.
Allocate Storage Before Disconnecting the Old Build
The storage numbers are easy to misread. Two SSDs can mount behind the motherboard tray. The third SSD position is on the case floor, which is also the only HDD mounting position. You can plan for three case-mounted SSDs or two rear-mounted SSDs plus one HDD, but not three SSDs plus an HDD in those supplied positions.
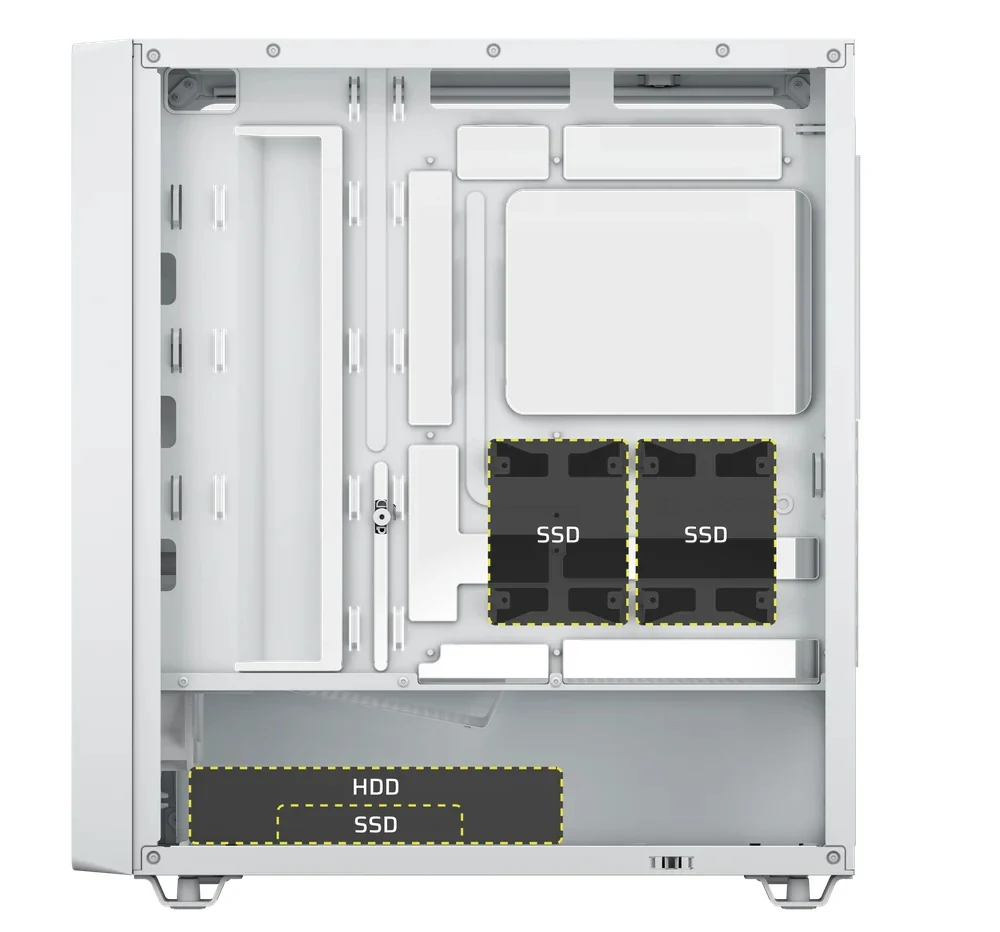
List each drive you intend to transfer and identify whether it needs one of these case mounts. If the old PC has two case-mounted SSDs and an HDD, the allocation is straightforward: SSDs behind the tray, HDD on the floor. If it has three such SSDs, all three positions are taken and there is no remaining floor HDD position. Decide which drive to omit or otherwise accommodate before the old machine is dismantled; the advertised “3x SSD” and “1x HDD” figures are not additive capacities.
Match the Front I/O to the Retained Motherboard
The 3200D front panel provides a power button, a combined headphone/microphone jack, one USB 2.0 Type-A port and one USB 3.2 Gen 2×2 Type-C port specified at 20Gbps. Its internal connections are a unified FPANEL plug for power-button and power-LED functions, HD Audio, USB 2.0 and a USB 3.2 Type-E connection for the Type-C port. Check the exact destinations in your motherboard manual, including the front-panel pinout, before budgeting for an adapter. A visible Type-C socket alone does not establish what speed your retained board can provide through it.
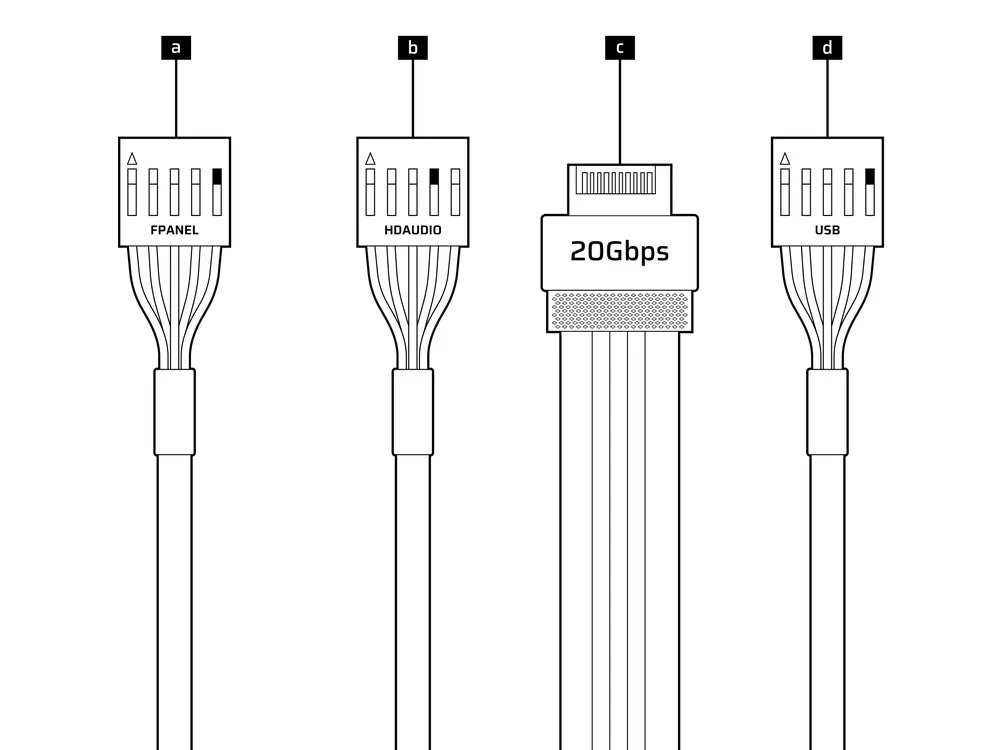
The guide says to align FPANEL with the keyed motherboard header, sometimes labelled JFP1, and consult the board manual for its pinout. If the PC does not power on with the unified connector, it describes using a front-panel I/O adapter to map the pins explicitly. That is a conditional troubleshooting route—not a reason to buy an adapter before checking your board. Record any missing header separately: it may affect whether a particular front port can be connected even if the rest of the build fits.
Work Through Two Retained-part Plans
Example: keeping front fans and an HDD. Suppose your existing parts include an ATX board, a 150mm air cooler, a 170mm PSU, a 370mm horizontal GPU, two case-mounted SSDs and one HDD. On the stated dimensions, the cooler, PSU and GPU fall within their respective limits with a front fan installed. The two SSDs take the rear mounts and the HDD takes the floor mount. The order list need not include a replacement cooler, PSU or drive-mount plan on those facts alone. Before committing, confirm the exact board’s USB 2.0, Type-E, HD Audio and FPANEL destinations, and check the actual card’s fit with the chosen front fans and its power connections. These example measurements are hypothetical; the case limits are the published figures.
Example: keeping a long GPU and a 360mm AIO. Suppose instead you have a 390mm horizontal GPU, a 360mm AIO, tall memory, three case-mounted SSDs and a 180mm CORSAIR SHIFT PSU. The PSU meets the stated length limit, and the three SSDs have an allocation only if the floor position is not needed for an HDD. A 390mm GPU exceeds the stated 375mm with-fan limit; the 400mm without-fan figure is the relevant published condition if you remove the front fans. It still does not establish clearance for a front radiator. Moving the AIO to the top avoids making a front-radiator fit assumption, but the tall memory then requires a top-radiator interference check. If that check fails, reconsider the cooler, GPU or layout rather than ordering on the strength of either length figure alone. Confirm the board’s front headers as a separate item; the case fit cannot supply a missing motherboard connection.
Turn the Checks Into an Order List
Mark each retained part keep, confirm or replace. “Keep” means its relevant limit and intended location are accounted for. “Confirm” covers the unresolved combinations: a front radiator beside a long GPU, a top radiator near memory, an exact reversed-connector board, or a motherboard header you have not identified. Reserve “replace” for a part or required layout that fails those checks—not merely one that is close to a published maximum.
Before ordering, write down the chosen front-fan and radiator positions, the GPU-length condition they imply, the floor mount’s single occupant and each front-I/O header destination. That short build plan is more reliable than checking the 3200D’s specifications one component at a time.