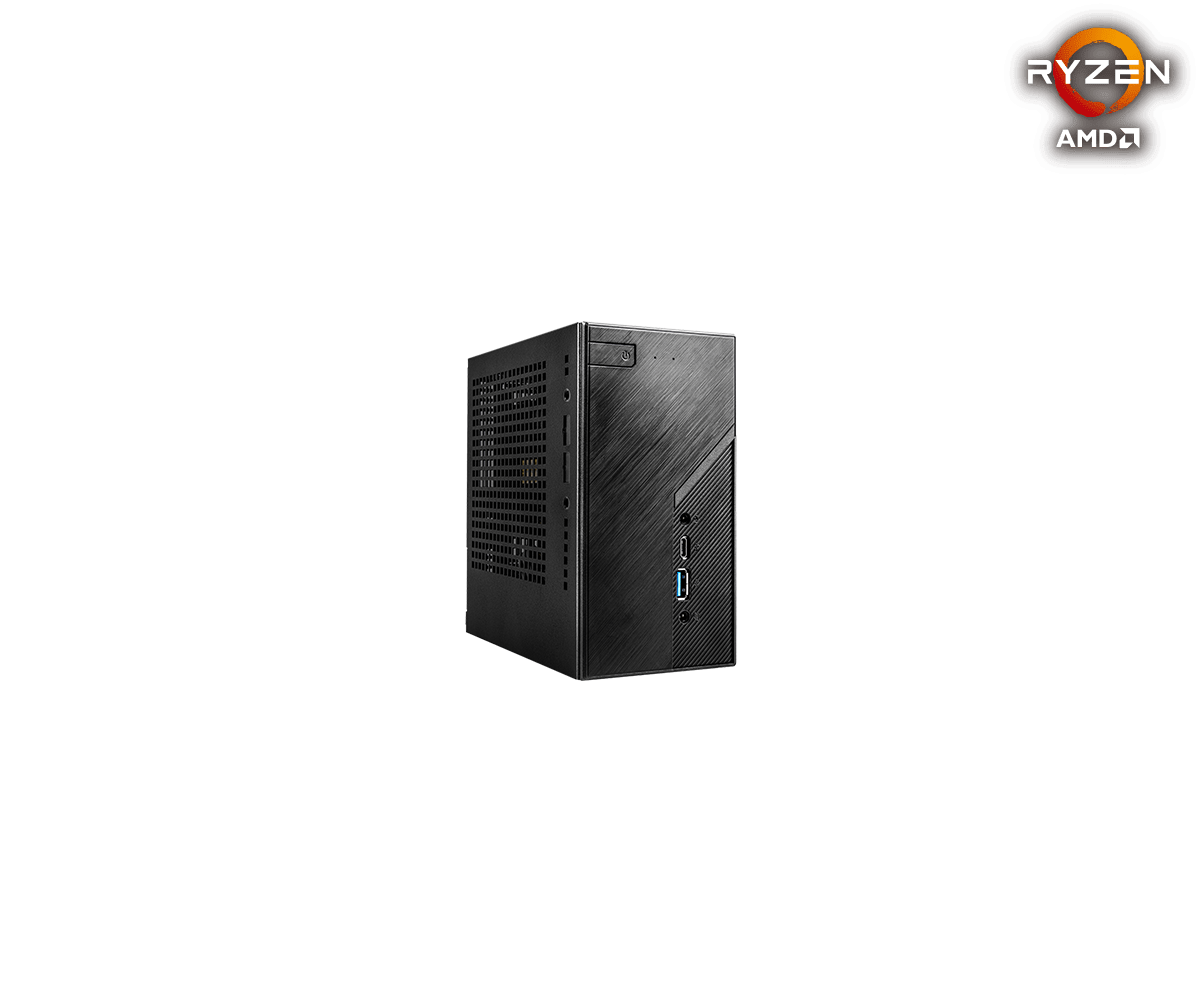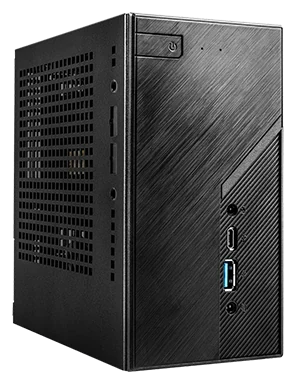
A DeskMini X300 migration can preserve a compatible AM4 processor with integrated graphics and several drives, but it does not shrink an entire ATX desktop unchanged. The 1.92-liter barebones uses two DDR4 SO-DIMMs, a CPU cooler no taller than 46mm and an external 19V power adapter. Desktop DIMMs, a discrete graphics card and the ATX power supply are outside that transplant. Start by deciding whether the processor and suitable storage are valuable enough to justify the replacement parts.
There are two published PCIe M.2 storage positions and two 2.5-inch SATA positions. Keeping four drives depends on their protocols, dimensions and installation access, while the second M.2 connection also has processor-dependent lane limits. That is a different parts list from simply buying a smaller case.
Keep the Right APU, Then Reselect the Memory
ASRock's current X300 and X300W specifications list AM4 Cezanne, Renoir, Picasso and Raven Ridge processors up to 65W. Match the full model of your retained processor to the CPU support list and the BIOS in the particular unit before taking apart the working desktop. Socket AM4 alone is not enough: this system's display outputs rely on the supported APU graphics, and its Mini-STX board has no desktop graphics-card x16 slot.
| Existing part | Migration decision | What must match |
|---|---|---|
| Supported AM4 APU | Candidate for retention | Exact CPU support, required BIOS and 65W limit |
| Desktop DDR4 DIMMs | Replace | Two DDR4 SO-DIMM sockets instead |
| Existing DDR4 SO-DIMMs | Check before retaining | Module support, capacity and processor-dependent speed |
| Discrete graphics card | Leave out | This is an integrated-graphics system |
| ATX power supply | Leave out | Correct external adapter and internal supplied cables |
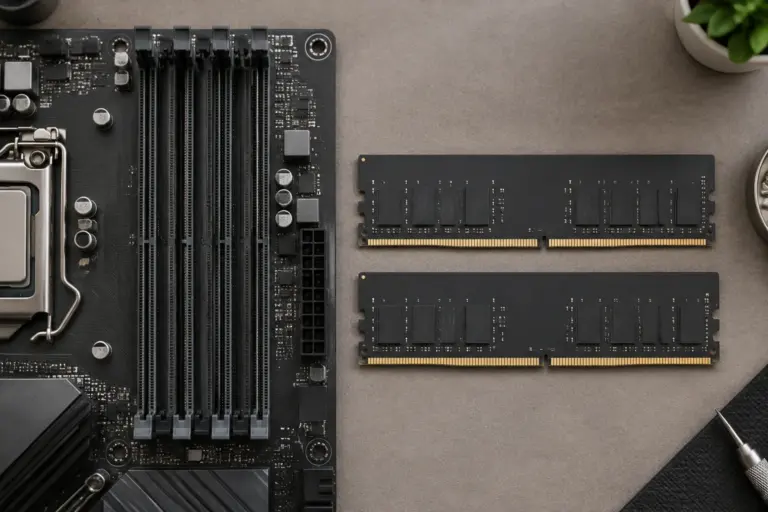
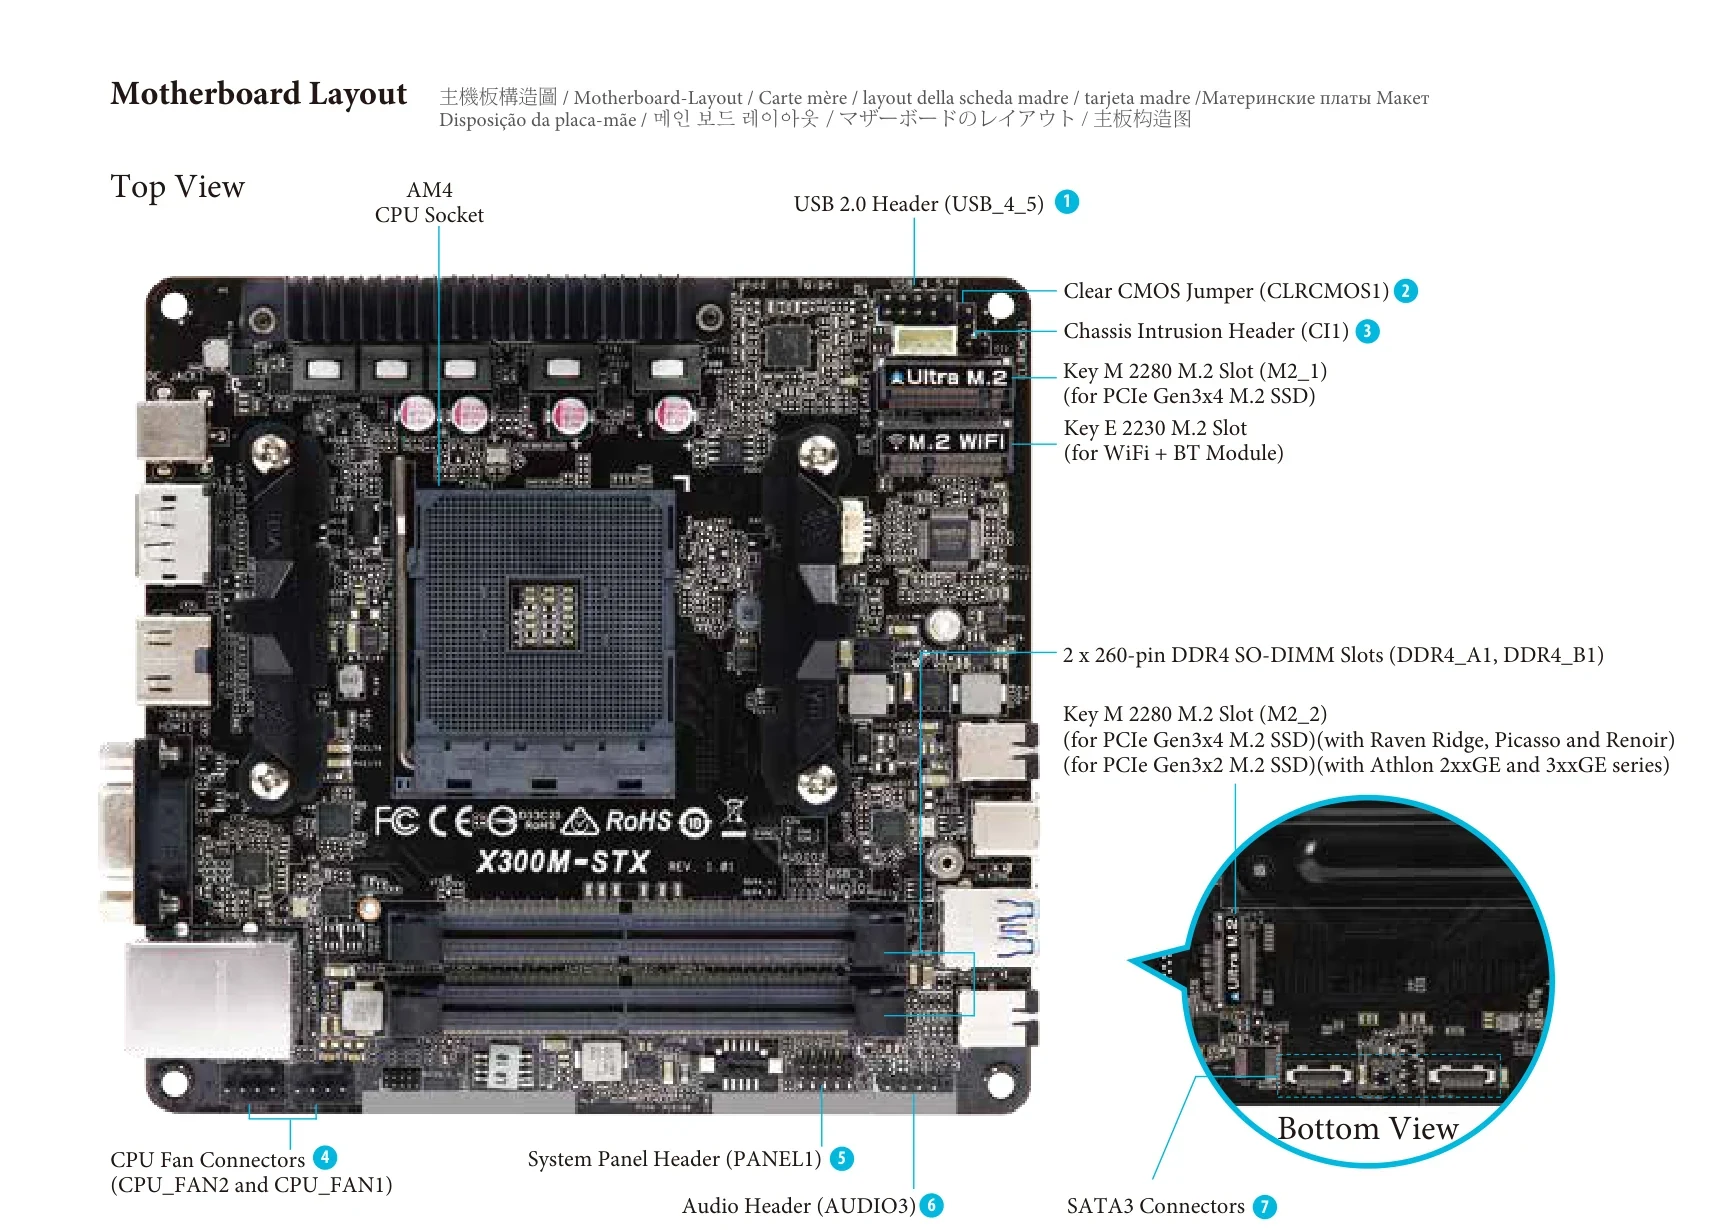
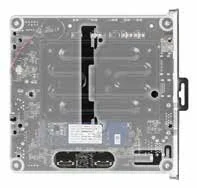
The board photograph makes the packaging difference visible: the AM4 socket sits between the rear connections and two compact memory sockets. A desktop DDR4 kit is not made usable by choosing the same advertised speed in the BIOS. The modules need the SO-DIMM form factor. For dual-channel operation, the installation guide calls for an identical pair, including brand, speed, size and chip type.
Capacity needs a careful reading. Both complete X300 and X300W specifications state a 64GB maximum, while the page's memory overview now advertises up to 128GB. Those statements do not establish a confirmed 128GB configuration for your CPU and BIOS. Use the formal 64GB limit when planning from these specifications; if more is essential, resolve the exact supported combination with ASRock before buying the modules.
The formal speed entries are also CPU-dependent: Ryzen 5000/4000 series are listed at 3200MHz and Ryzen 3000/2000 series at 2933MHz. These are not a promise that every retained kit will run at its own advertised overclocked rating.
Fit the Complete Cooler Inside 46mm
Check the installed height of the cooler, including its fan, and its AM4 mounting hardware. The enclosure's 46mm limit is substantially more restrictive than the socket's ability to accept an AM4 cooler. Surrounding memory clearance and the final position of fan wiring matter as well.
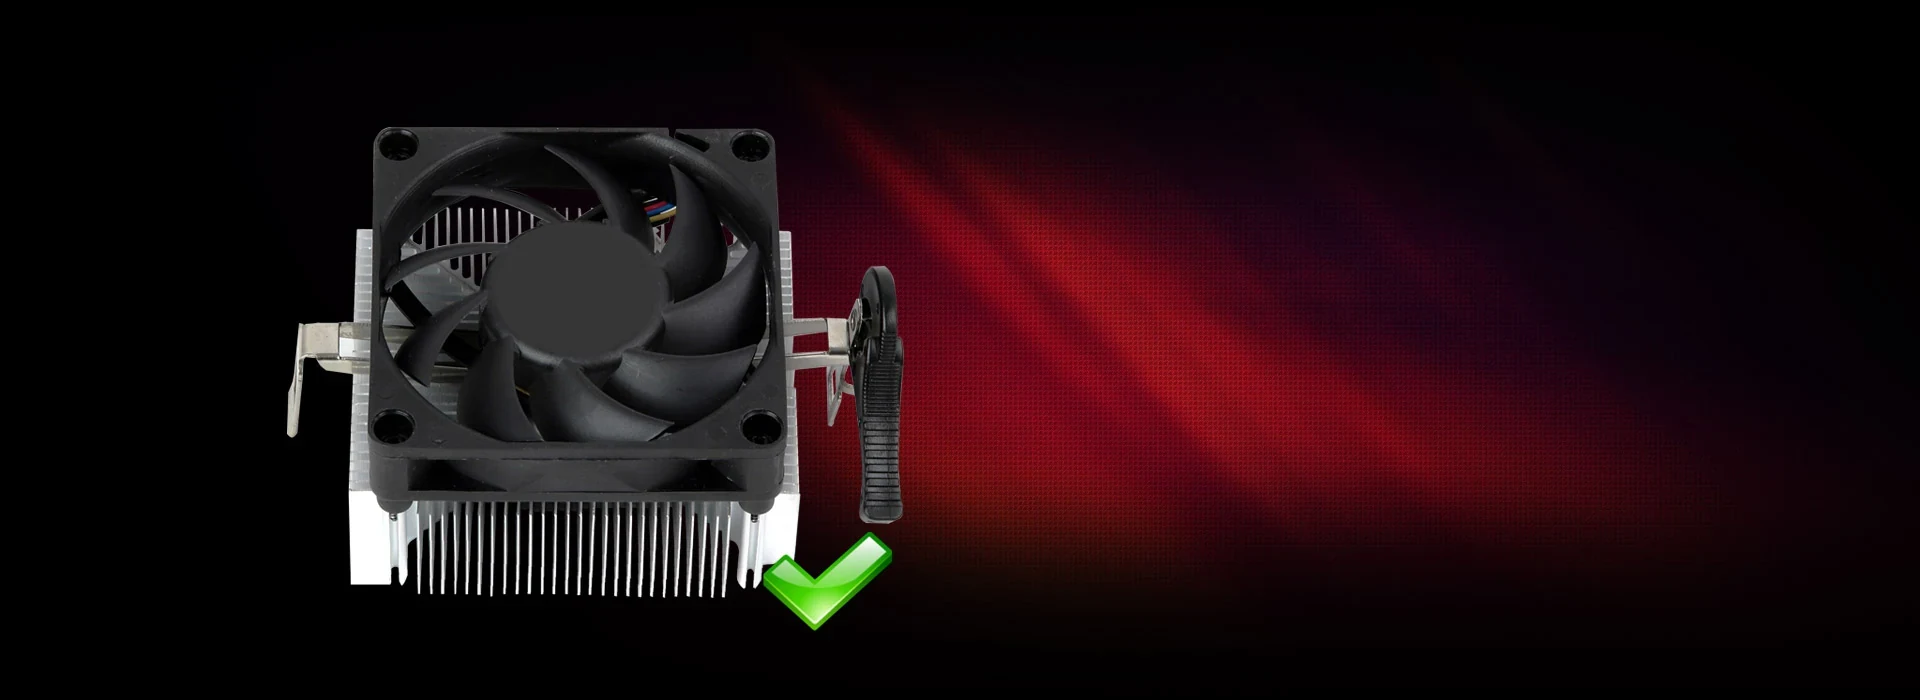
ASRock lists an optional AM4 cooler measuring 77 × 68 × 45mm. It is a useful example of the low-profile shape intended for this enclosure, but the page marks its availability as model- and region-dependent. Do not count it as supplied merely because it appears on the product page. Nor does fitting below 46mm establish a particular temperature or noise result for your retained APU.
Put the cooler on the missing-parts list if your current one exceeds the height limit or lacks the appropriate mounting pieces. Choose the assembled, compatible solution before assuming that the CPU is the only component you need to move.
Map Both M.2 SSDs, Including the Underside Position
The four-drive claim divides into two PCIe M.2 SSDs and two cabled SATA drives. It does not mean four interchangeable sockets, and the separate Key E wireless slot is not an additional SSD position.
| Drive position | Published support | Migration consequence |
|---|---|---|
| M2_1 | 2280 PCIe Gen3 x4 | Check that the retained SSD uses PCIe, rather than SATA M.2 |
| M2_2 | 2280; Gen3 x4 for Renoir, Picasso and Raven Ridge; Gen3 x2 for Athlon 2xxGE | Resolve the retained APU's listed connection before assuming x4 |
| First SATA position | 2.5-inch SATA drive, 7mm or 9.5mm thick | Assign a tray and a combined data/power lead |
| Second SATA position | Another 2.5-inch SATA drive, 7mm or 9.5mm thick | Plan motherboard removal and the second cable |
These are the current product specification's groups for M2_2. Cezanne appears in the CPU support families but is not assigned an exact M2_2 lane group in that table. Do not silently extend the Renoir row to it. If the second drive's connection is decisive for your migration, obtain confirmation for the actual Cezanne configuration.
If your retained inventory contains only one compatible PCIe 2280 SSD, allocate it to M2_1 in the plan. That keeps the proposed one-drive layout separate from the unresolved Cezanne detail for M2_2.
Both storage M.2 positions are published as PCIe; a retained SATA M.2 drive does not become compatible just because it is 2280 length. Likewise, a shorter or longer module is not covered by the published 2280 specification. Inventory the actual drive labels before allocating them.
The original board images locate M2_1 on the upper side and M2_2 on the underside. Plan access before reassembling the tray, particularly when fitting two SATA drives below it. The existence of a slot also does not establish clearance for a tall add-on SSD heatsink in the completed enclosure.
Install the Two SATA Drives as a Tray-and-cable Assembly
The original installation guide names the mounting positions A and B. It shows the first drive being secured to its tray and connected with a SATA data-and-power cable. For the second position, it explicitly requires removing the motherboard before installing the drive, then turning the tray over and securing the drive. Finally, the combined leads connect the drives to the motherboard's SATA connectors.
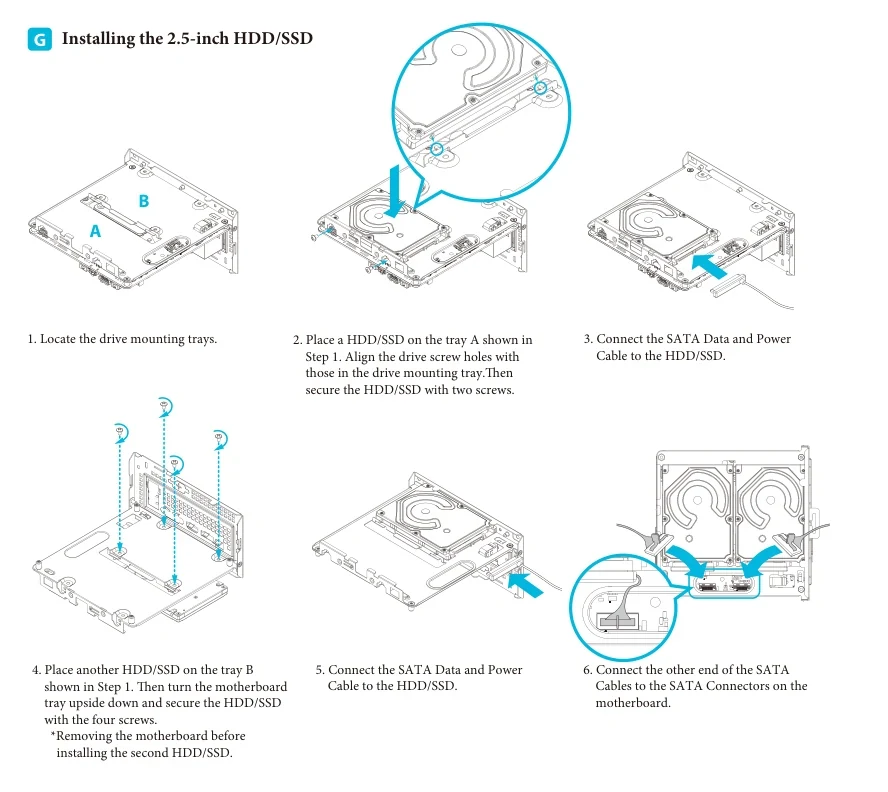
This makes the second SATA drive an assembly-order decision. It is worth installing or confirming that drive while the relevant tray fastenings are accessible, rather than closing the machine and discovering that the board has to come out again. Keep each combined lead associated with its drive and check that neither cable is trapped as the tray returns to the enclosure.
The two positions are for 7mm or 9.5mm 2.5-inch SATA devices. A 15mm-thick drive is outside that specification, and a desktop 3.5-inch HDD is not an internal migration option. The board manual additionally states that these SATA connections support the 5V supply for 2.5-inch drives and do not support the 12V requirement of 3.5-inch drives. A different cable does not turn that into published support for your desktop hard disk.
For example, a plan with a supported Renoir APU, suitable paired SO-DIMMs, two compatible 2280 PCIe SSDs and two 7mm SATA SSDs matches the listed storage types. Assign the two SSD sockets, both trays and both combined cables individually. Then verify the exact devices and physical clearances. Replacing one of those drives with a SATA M.2 module or a 3.5-inch HDD changes the plan; four total drive connections cannot compensate for the wrong interface or size.
Check the Complete Barebones Package and the Ports You Retain
Buy or inspect the complete unit rather than treating the motherboard as the whole purchase. The X300 and X300W barebones specifications list two SATA data-with-power cables, a 120W/19V adapter and a screw pack. The motherboard manual describes some board-only accessories as optional, so a bare board listing does not prove that you will receive those system parts.
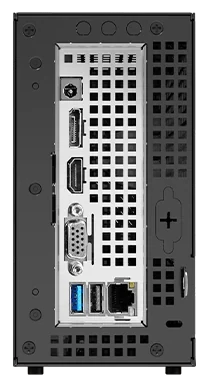
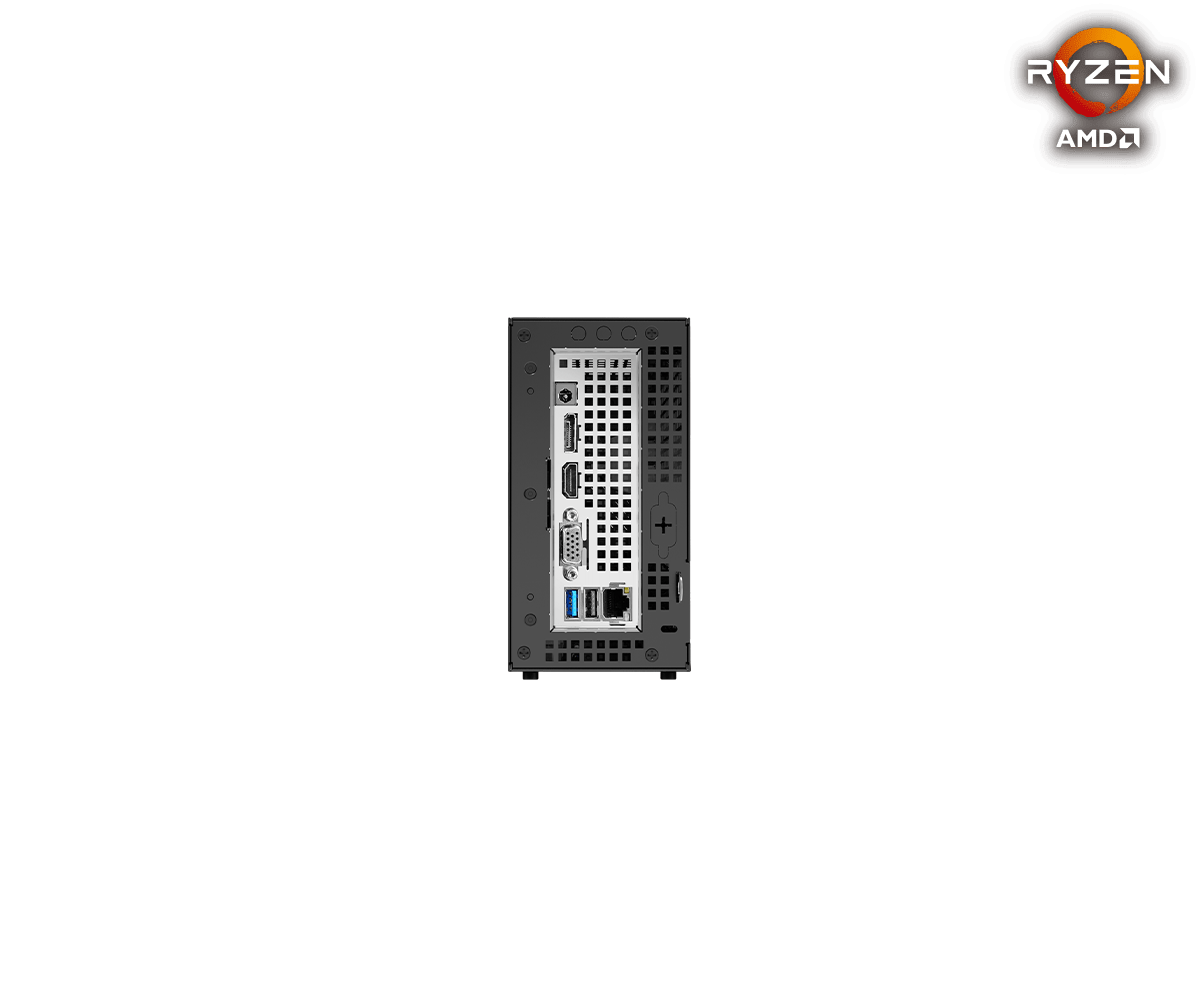
The original rear detail shows the DC input, DisplayPort, HDMI and D-Sub connections, plus Ethernet and rear USB. The product specification lists Gigabit Ethernet, one rear USB 3.2 Gen1 Type-A and one rear USB 2.0 Type-A; the front provides a Gen1 Type-C and Type-A. Plan monitors around the actual video outputs. The front Type-C's presence does not establish USB4, a video connection or power-adapter replacement through USB-C.
The W package adds an Intel AC-3168 Wi-Fi kit. Standard X300 lists a Key E wireless socket, while wireless kits on the overview are optional and region-dependent. Confirm the included module and antennas when wireless is required; an empty socket is not a complete wireless installation.
Two other conditions can change whether this is the right small system. The specifications state that X300 does not support S3, so do not assume your existing sleep arrangement carries over. The current official page also marks the product discontinued in February 2026: treat it as an existing-unit or remaining-inventory decision, with the actual package and condition established before purchase.
Price the Missing Parts Before Dismantling the Desktop
Your final migration list should name the retained supported APU, two suitable SO-DIMMs, a complete cooler within 46mm, each drive and its assigned position, the correct adapter, both SATA cable assemblies and the required screws. Add the verified wireless package only if you need it.
If the processor and suitable drives are what you value, that list can make the small barebones a coherent reuse project. If retaining desktop DIMMs, a graphics card or 3.5-inch hard disks is essential, the X300 does not preserve those assets. Make that decision before purchasing replacement memory and cooling around it.