You can keep an owned 280mm AIO when moving to the Fractal Design Era 2 only if its installed radiator-and-fan assembly fits one of two top-mount envelopes: up to 315 × 140 mm with total thickness no greater than 52 mm, or up to 300 × 140 mm with total thickness no greater than 58 mm. The longer allowance does not come with the thicker allowance. Measure the radiator body and the fans you will actually install before deciding that the AIO fits.
That check is only the first part of retaining a build. The Era 2’s movable motherboard wall changes the space available to the GPU and CPU block, while the PSU, tubing and cables still need workable routes. A “280mm” label alone cannot settle any of those questions.
Measure the Assembled Cooler, Not Its Size Label
Start with the radiator body’s overall length and width, including its end tanks rather than just the finned area. Then calculate total thickness from the radiator and the fans in their intended mounting arrangement. Use the dimensions of the parts you own or plan to use; do not treat the fan diameter as a measurement of the radiator body.
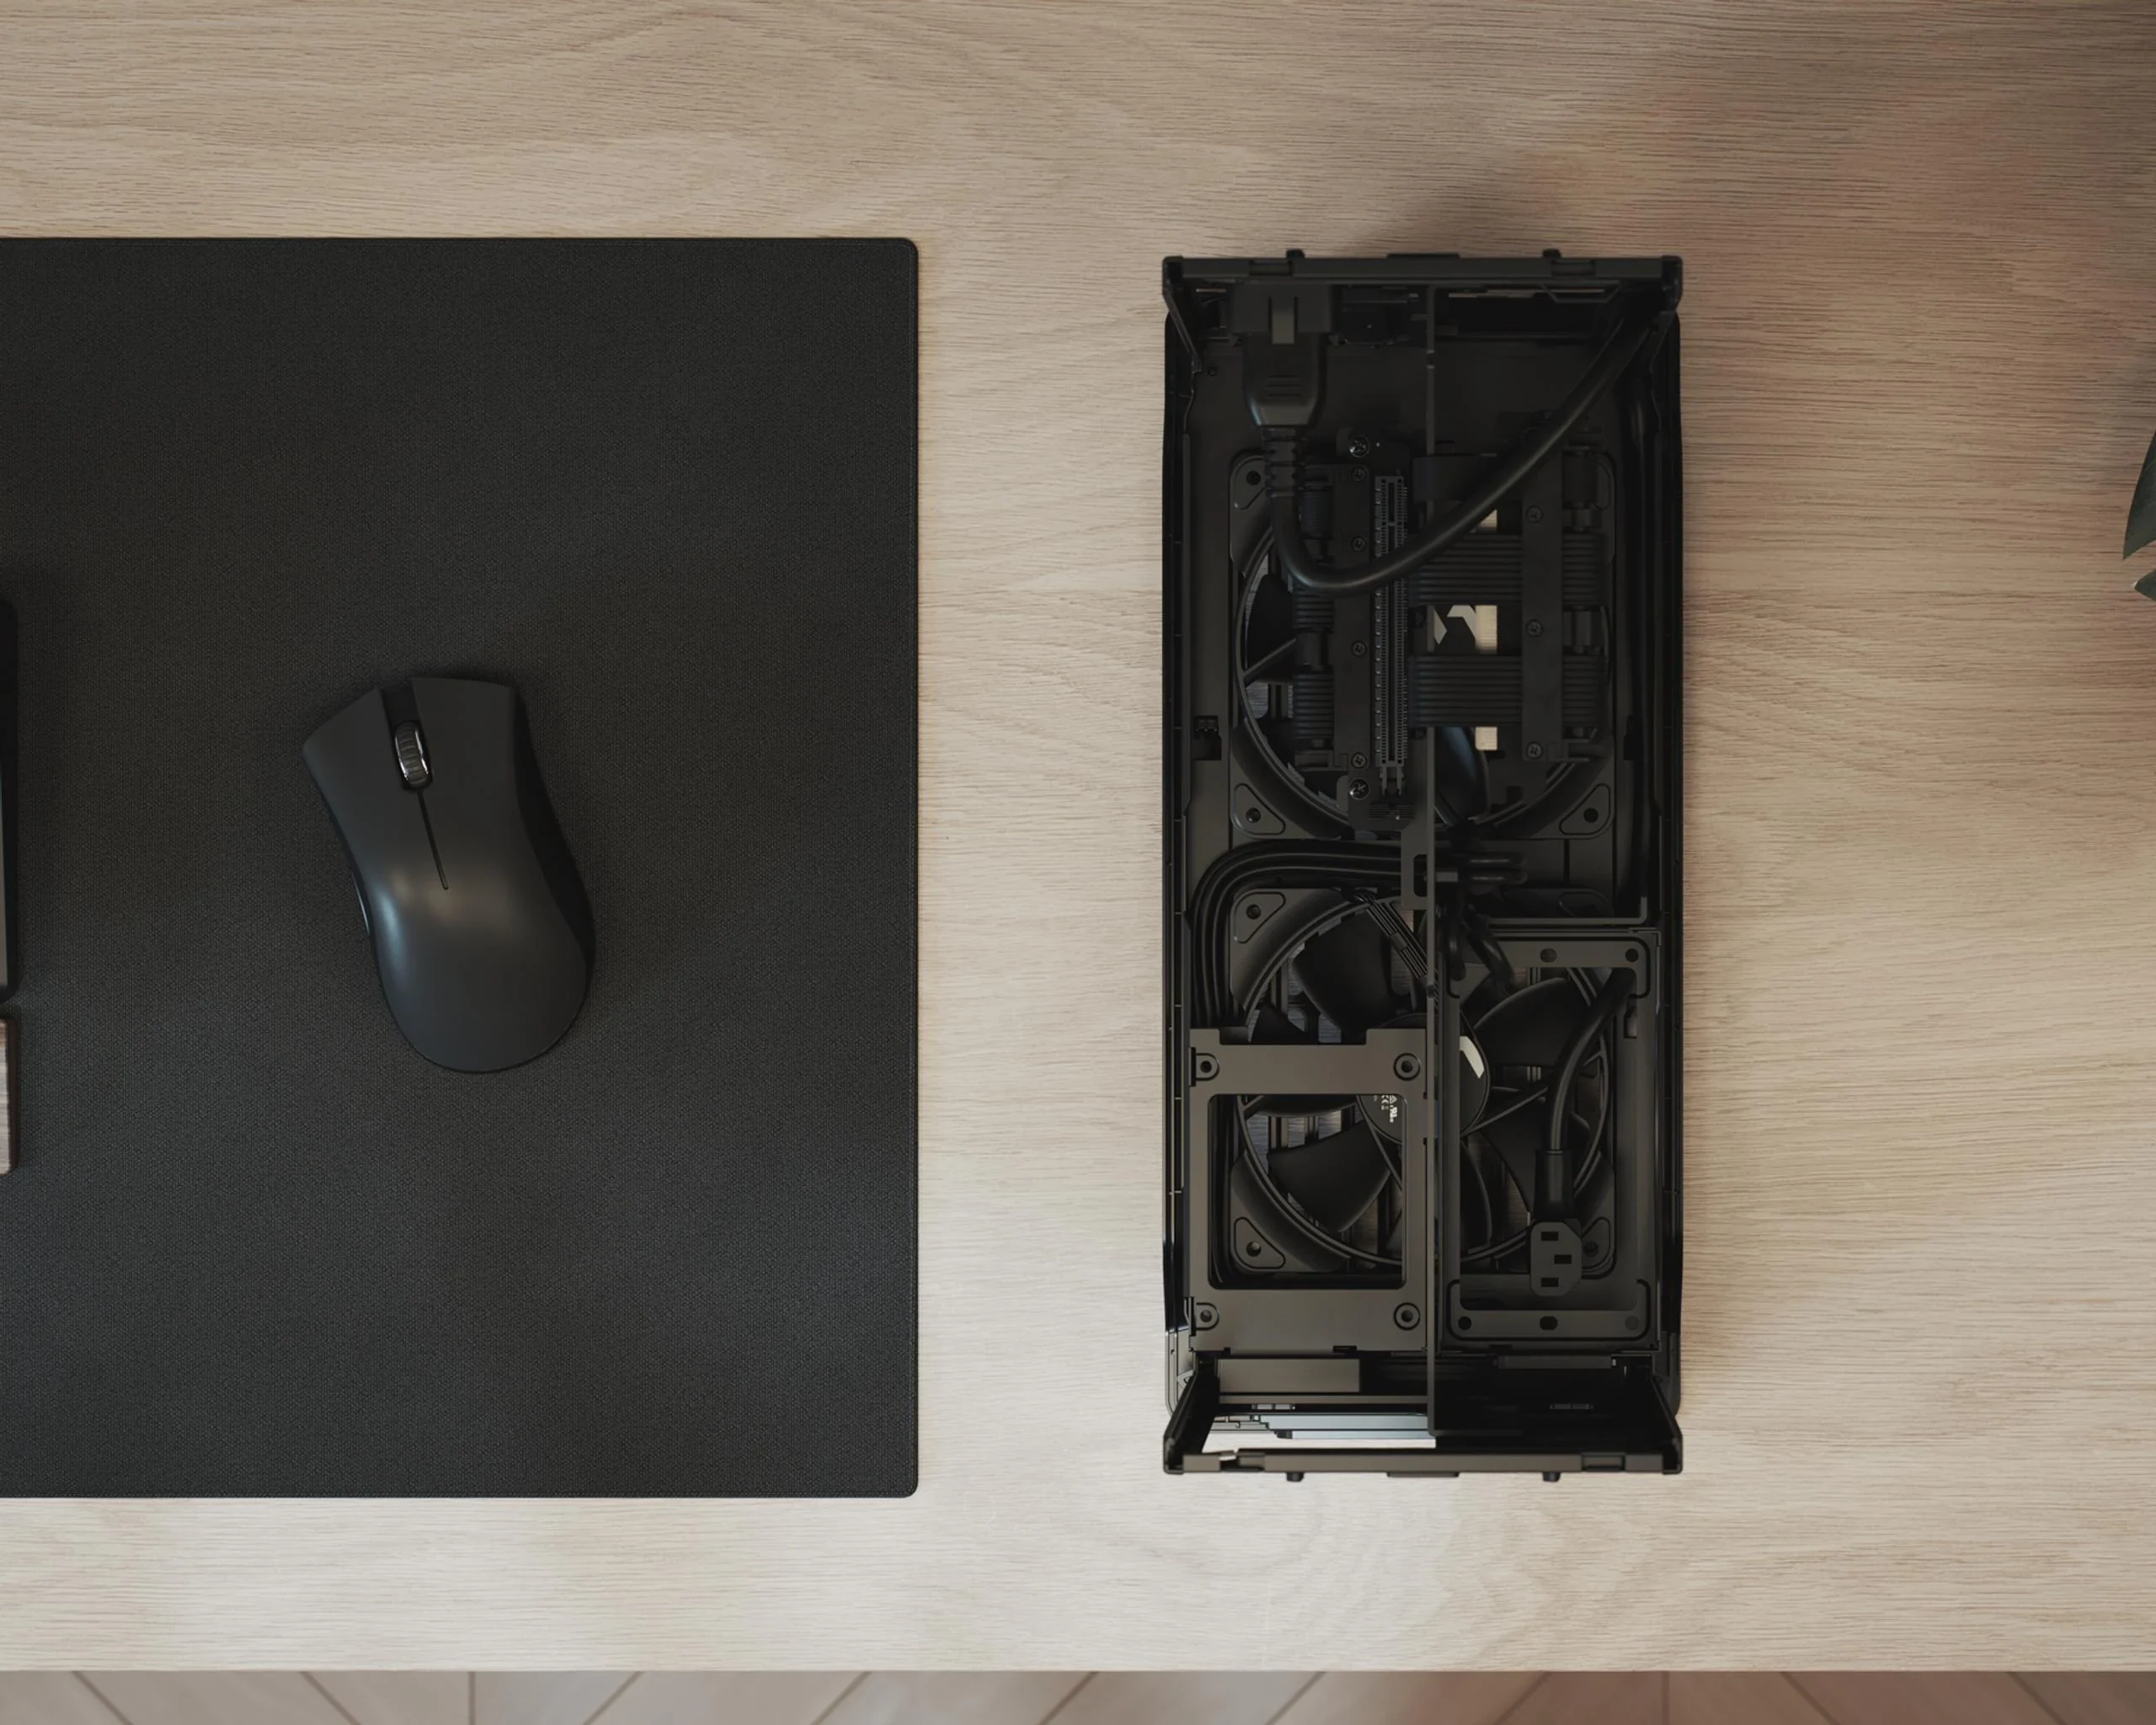
Compare the resulting three measurements against each complete Era 2 envelope:
| Top-mount option | Maximum radiator length | Maximum width | Maximum radiator-plus-fan thickness |
|---|---|---|---|
| Longer, thinner assembly | 315 mm | 140 mm | 52 mm |
| Shorter, thicker assembly | 300 mm | 140 mm | 58 mm |
These are alternative envelopes, not three independent maximum dimensions. A body that needs more than 300 mm of length must meet the 52 mm thickness limit, even though the other option permits 58 mm. Both options limit width to 140 mm. The published dimensions describe the top radiator installation, so compare them with the complete stack rather than checking an unpopulated radiator and adding fans later.
For example, suppose your proposed installed assembly measures 310 × 138 × 55 mm. Its length is within 315 mm, but its 55 mm thickness exceeds that option’s 52 mm limit. It meets the thicker option’s 58 mm limit, but its 310 mm length exceeds that option’s 300 mm limit. It therefore passes neither published envelope. By contrast, a hypothetical 298 × 138 × 56 mm assembly meets all three limits of the shorter, thicker option. An assembly longer than 315 mm is outside both listed envelopes, regardless of how thin it is.
Passing the dimensional comparison gives you a reason to proceed with the build check, not permission to ignore fittings. Note where the AIO tubes leave the radiator, where the pump or block connectors sit, and how the tubing would turn toward the CPU when the radiator is mounted at the top. If a manufacturer’s drawing omits a protrusion you need to accommodate, resolve that uncertainty before checkout rather than assuming the spare millimetres in a specification are usable routing space.
Check the GPU and CPU Block at the Same Wall Position
The Era 2 has a stepless, slidable central wall with 15 mm of adjustment. Its published GPU limits are 326 mm in length and 137 mm in height; the available GPU thickness ranges from 48 to 63 mm depending on the motherboard-wall position. The CPU-cooler height range is 55 to 70 mm, also depending on wall position. Those ranges are linked by the adjustable layout: do not plan around a 63 mm-thick GPU and a 70 mm CPU-side allowance as though both maxima were promised at once.
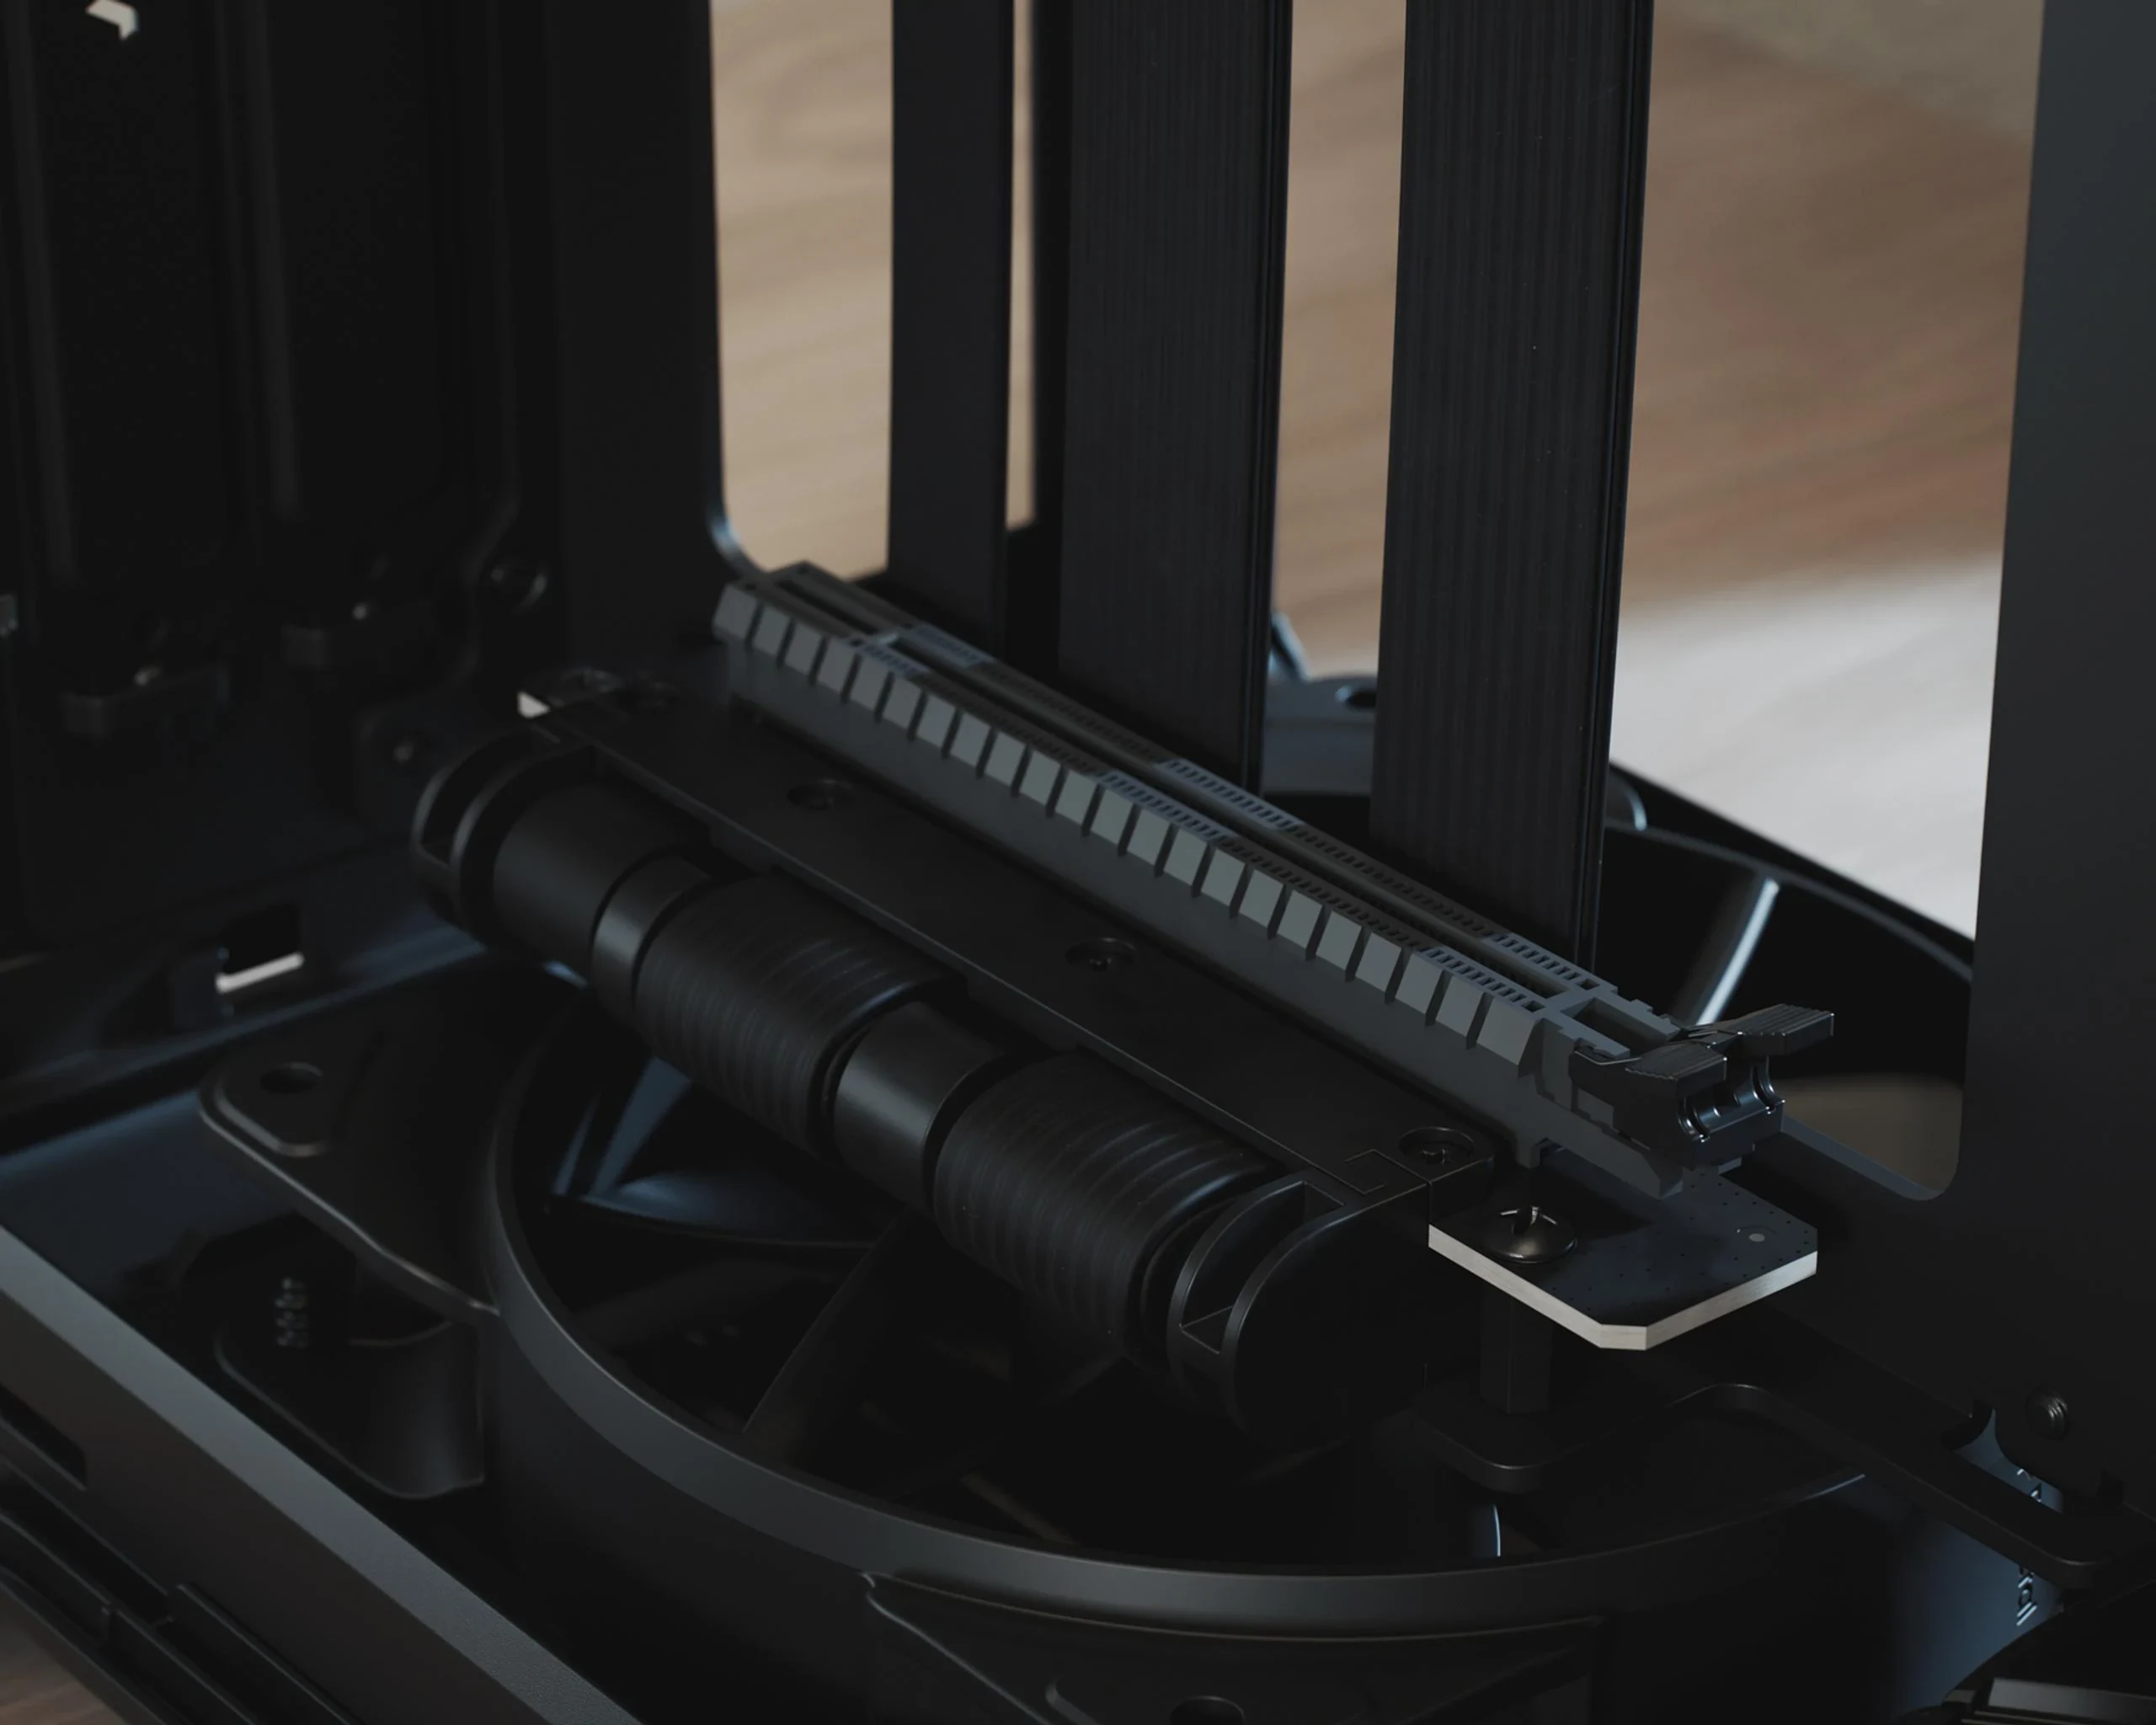
Make one parts list for one proposed wall position. Record your card’s full length, height and thickness, then identify any power connector and cable bend that needs space beyond the card’s stated dimensions. On the motherboard side, measure the installed AIO block or pump housing and account for its tubing exits and connectors. A low block may make the CPU-side limit straightforward, but it does not remove the need to check the GPU side; a thicker graphics card can make the wall choice decisive.
For example, if you are keeping a relatively thick GPU as well as the AIO, check whether a wall position that gives the card sufficient thickness clearance still leaves room for the installed CPU block and its tube connections. If you cannot establish that pairing from your component drawings and a build layout, treat it as unresolved. The published ranges do not provide a position-by-position clearance table that would justify guessing an intermediate limit.
Keep the Rest of the ITX Build in View
The Era 2 supports an ITX motherboard and an SFX or SFX-L power supply. It includes a pre-installed PCIe 4.0 riser cable and has three expansion slots. Those are useful compatibility starting points for retained parts, but they are not a guarantee that an existing PSU’s cables, a particular graphics-card connector or every motherboard header will be easy to reach once the radiator and wall are in place.
There are four dedicated 2.5-inch drive mounts, including two on the motherboard wall. Count the positions you intend to use, then check where their drives and cables would sit in your proposed assembly. Four mounts in the specification should not be read as a promise that all four drives, every GPU, every PSU cable route and every cooler arrangement can coexist without a conflict. The case has no listed 3.5-inch drive mounts, so an existing 3.5-inch drive does not have a specified mounting position here.
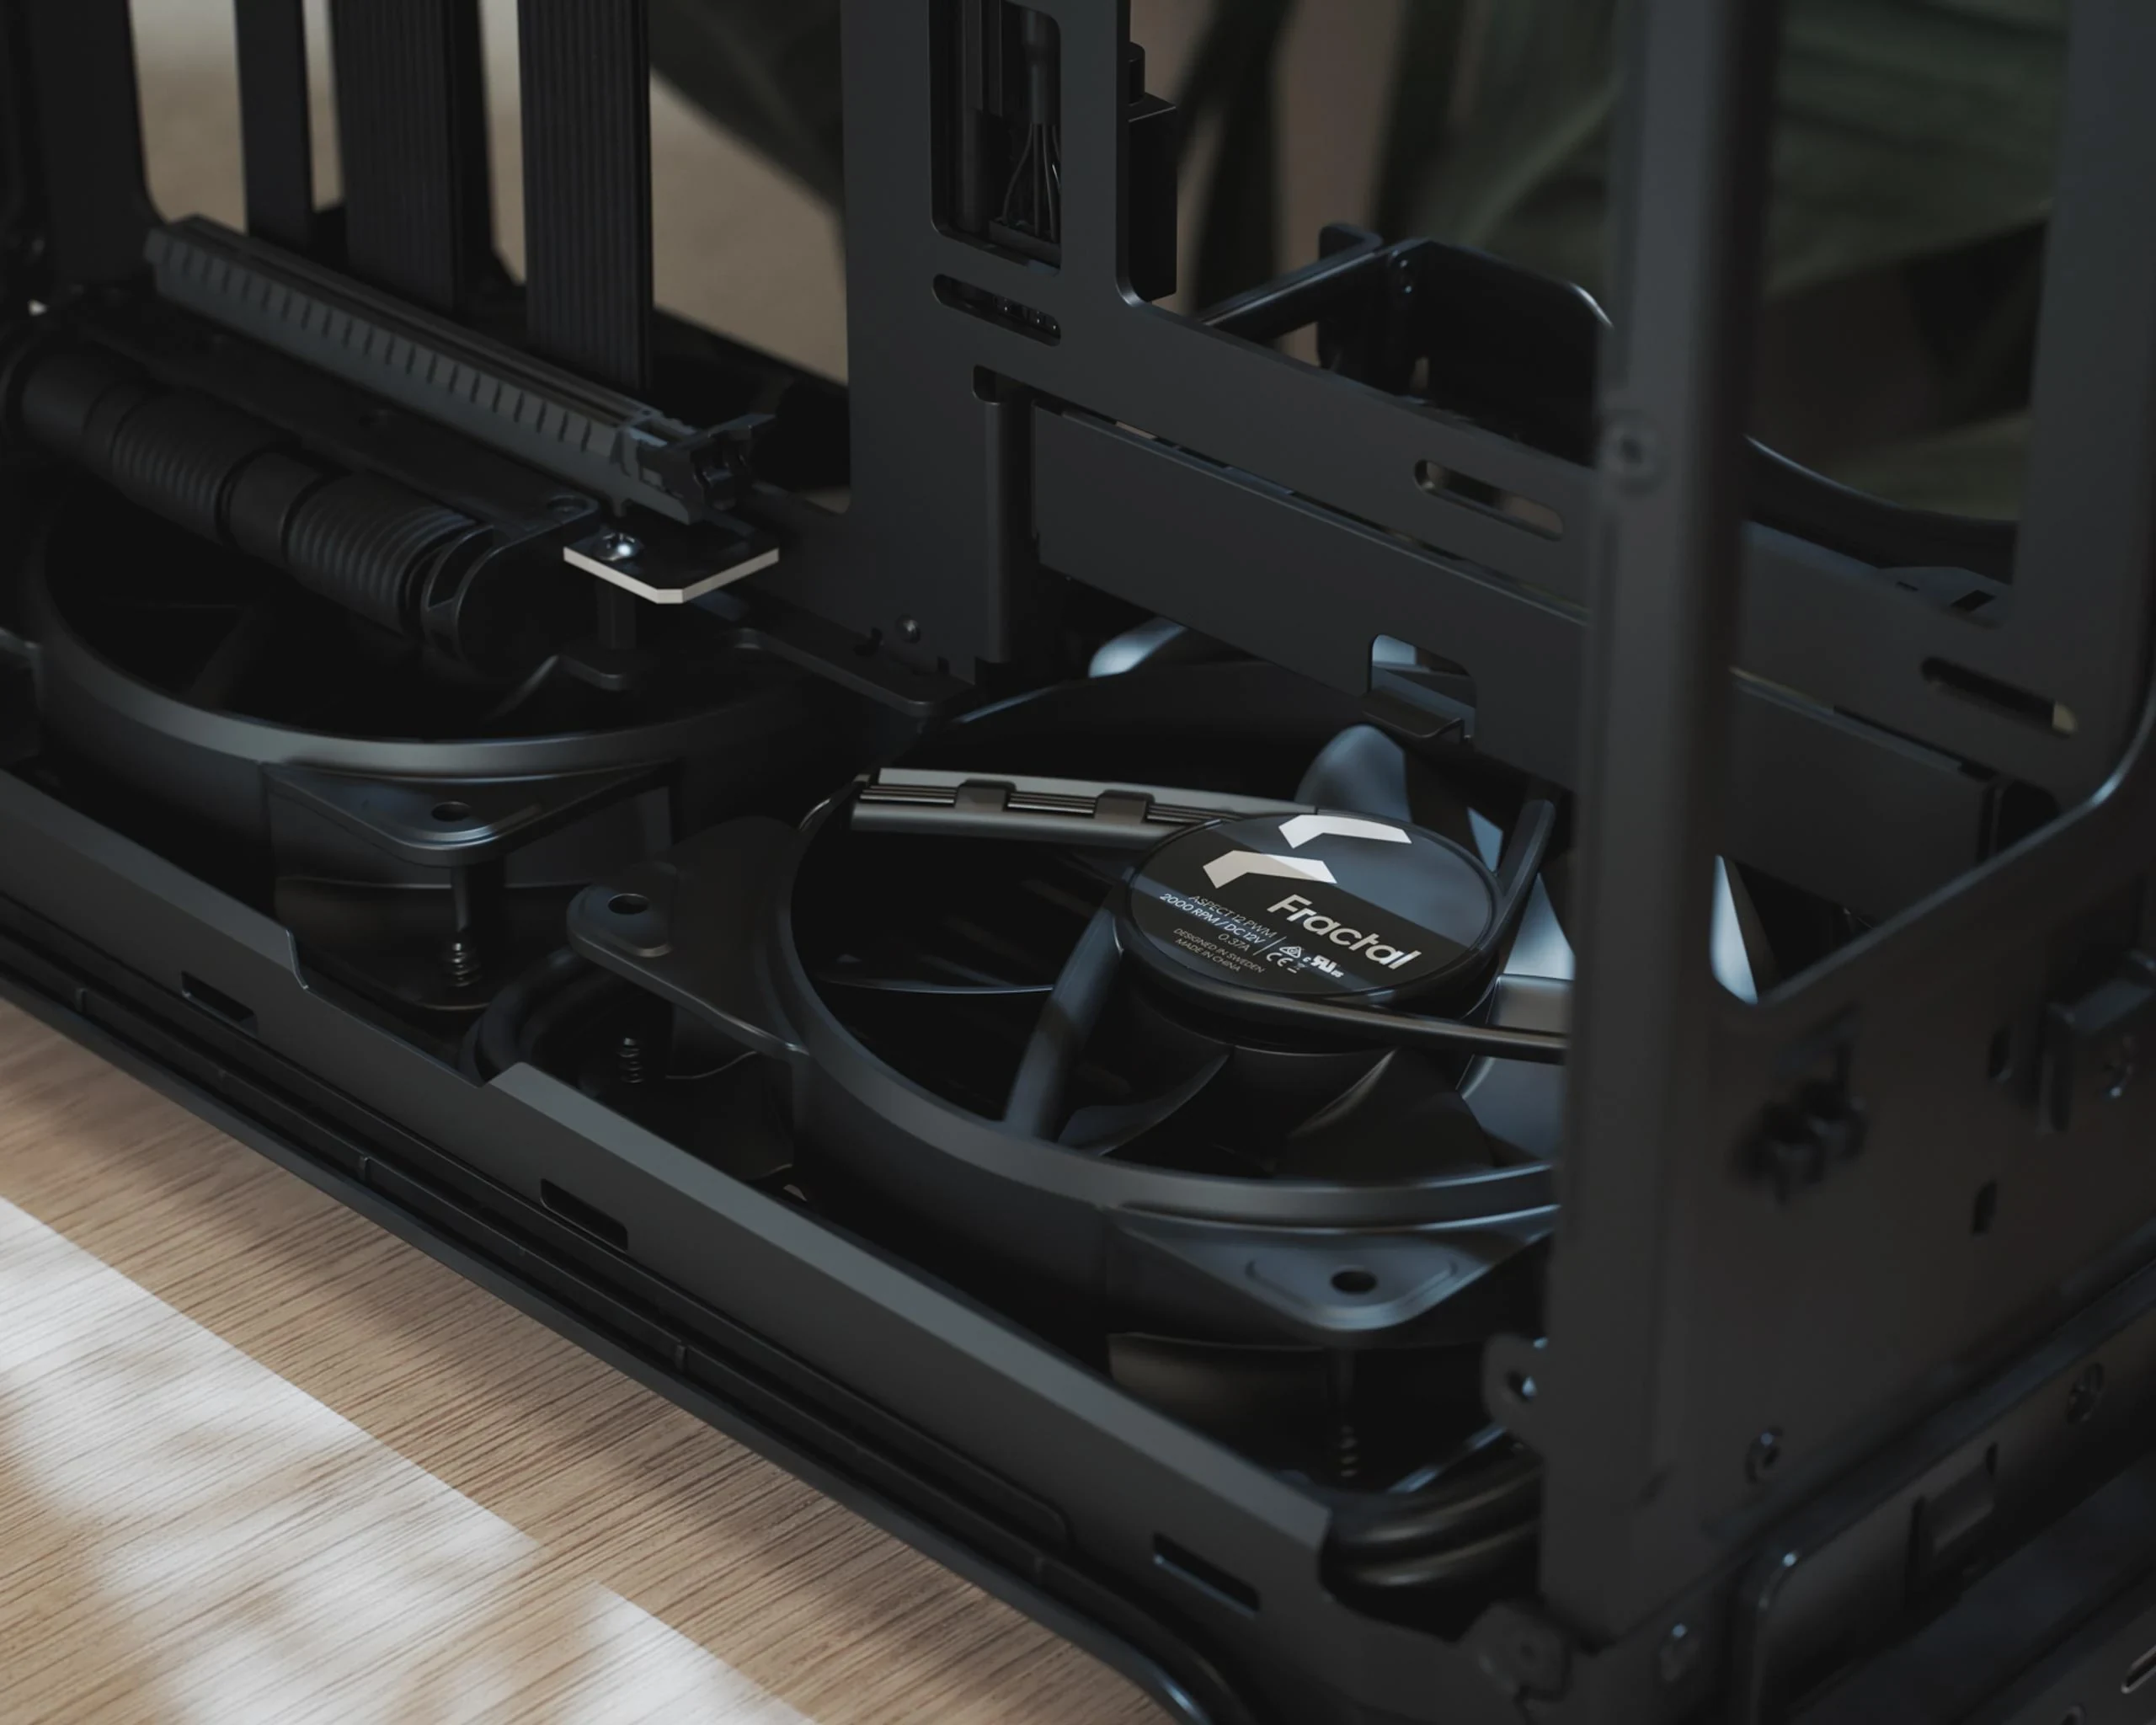
Plan fans by location rather than by the number on the AIO box. The Era 2 includes two Aspect 12 PWM 120 mm fans and has two 120 mm bottom fan positions. At the top, it supports two 120 mm or two 140 mm fans. Check what fans your owned AIO already has and which fans you intend to attach to its radiator; there is no reason to budget for replacement top fans merely because the case includes two fans of its own. Equally, do not count the included fans as the AIO’s installed top stack unless that is actually your plan.
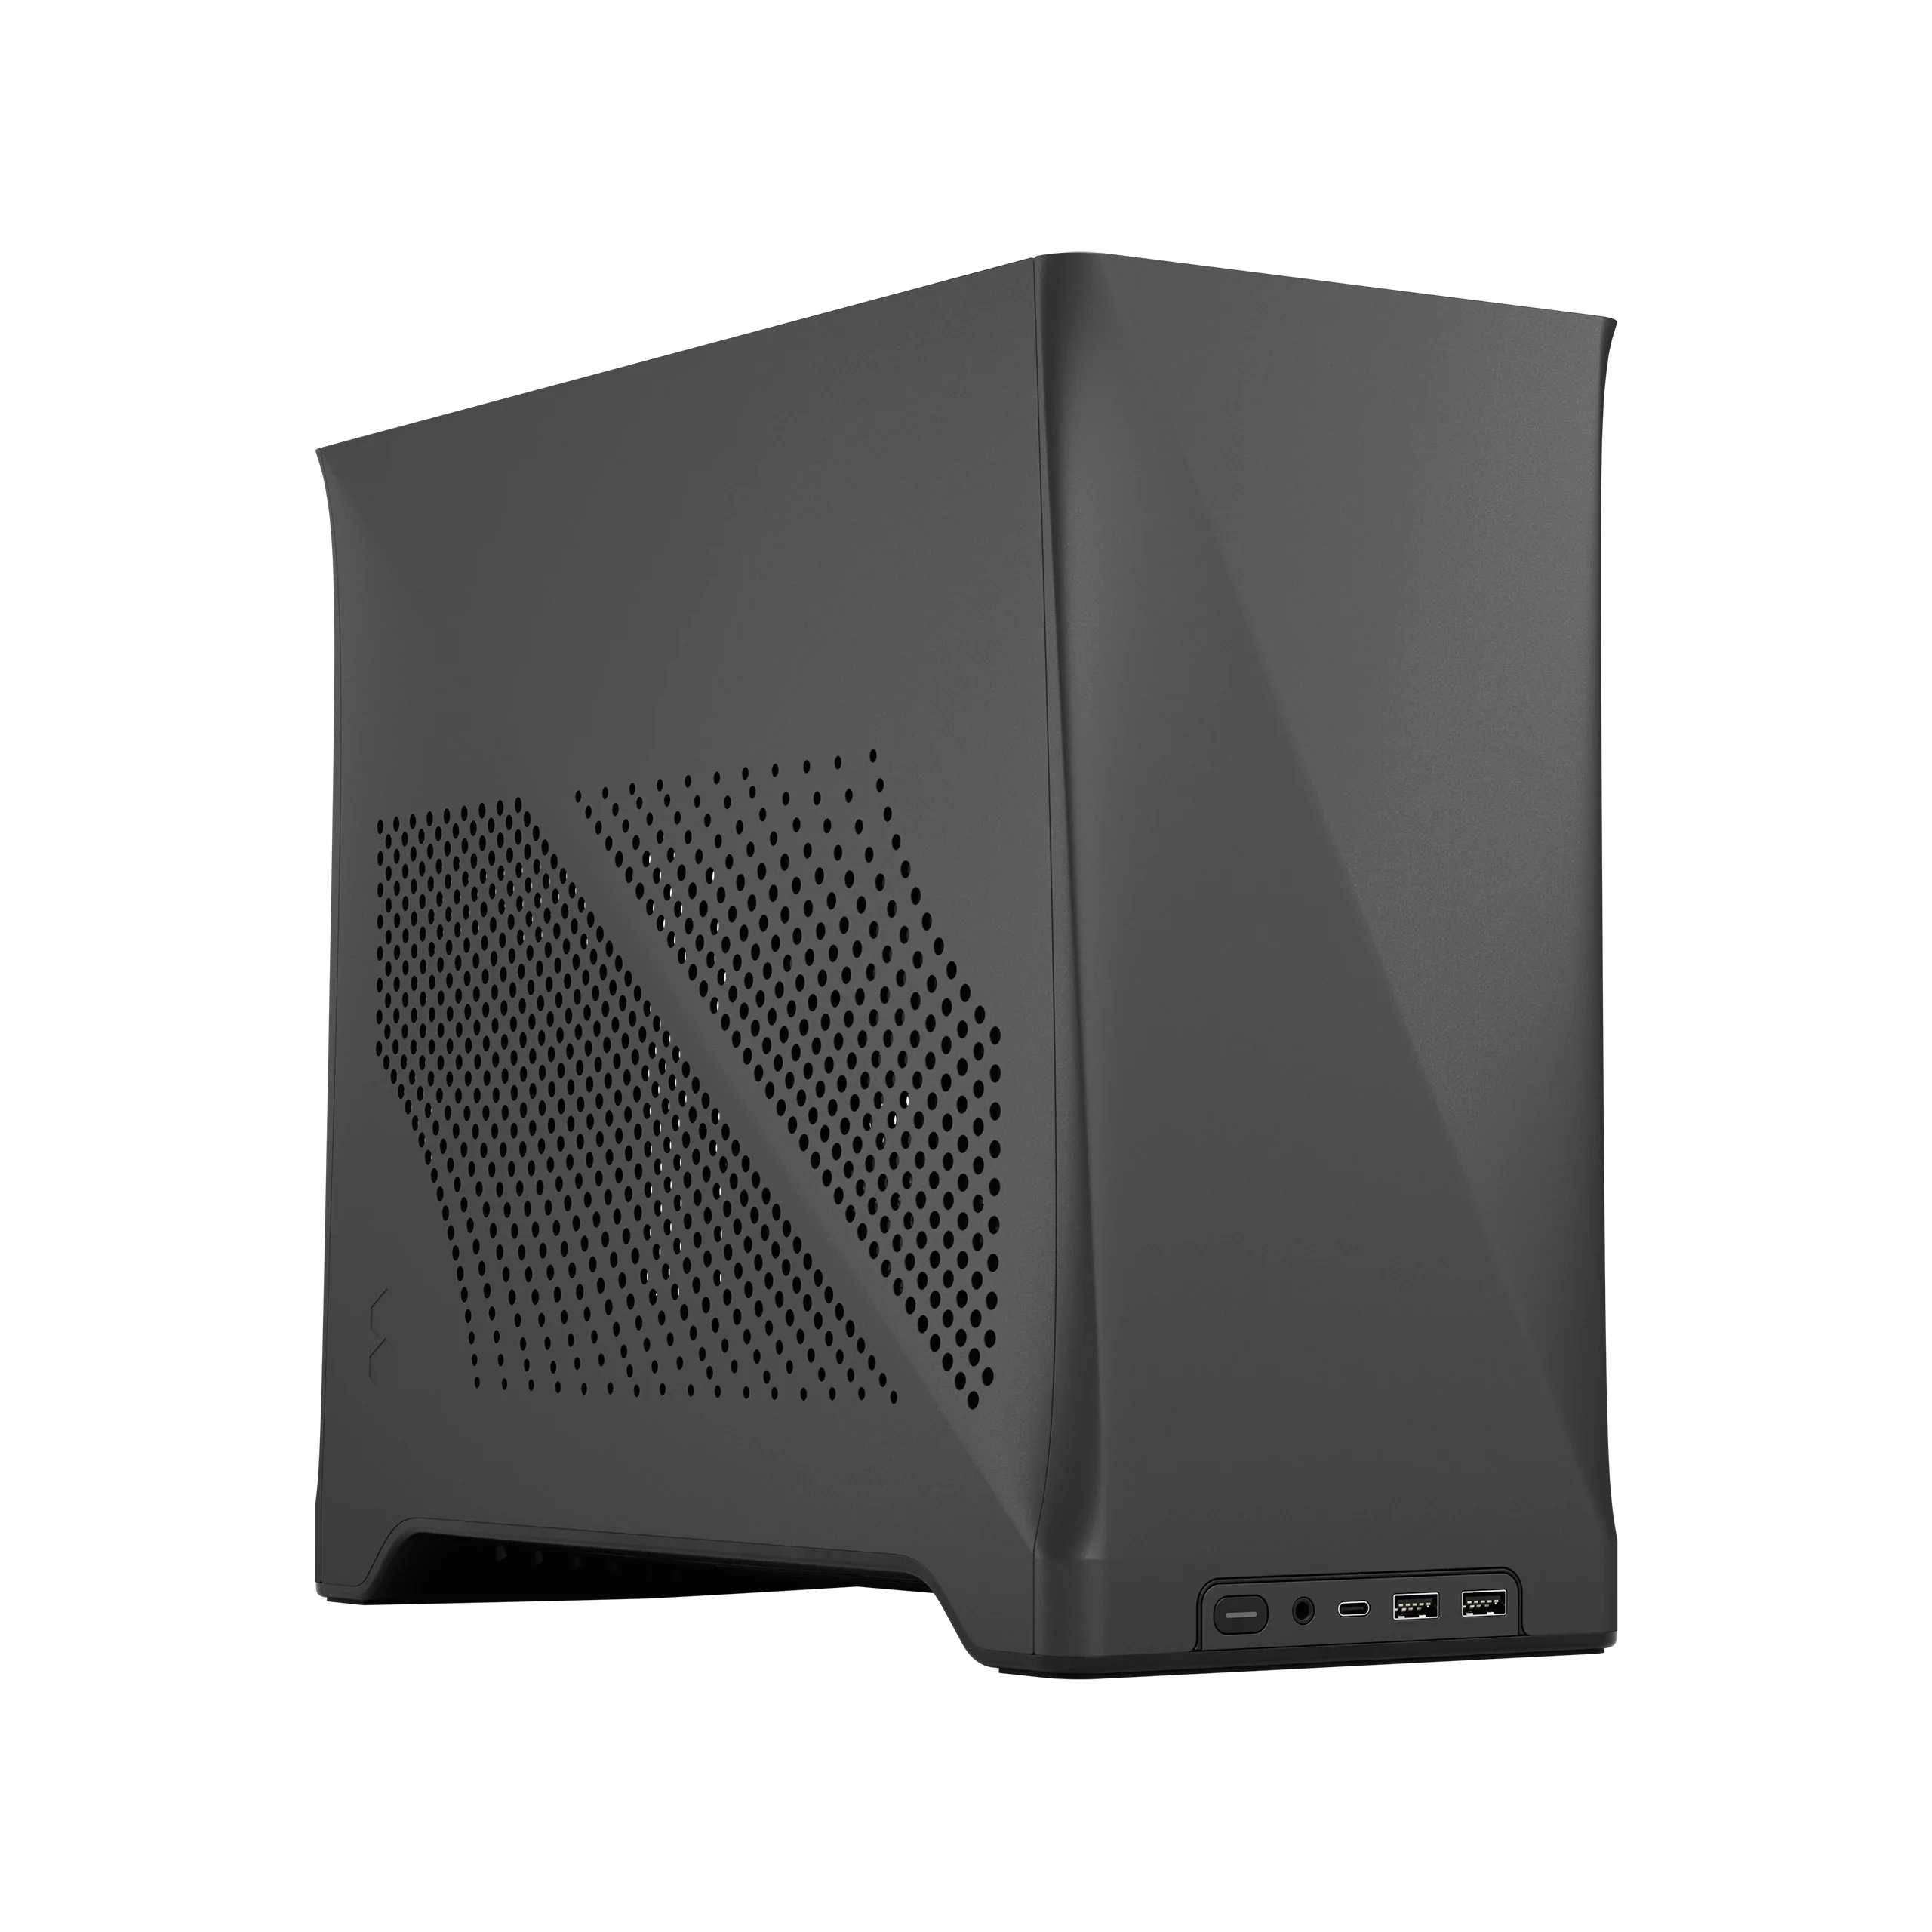
The front interface provides one USB 3.2 Gen 2×2 Type-C port, two USB 3.0 ports and audio. If retaining your motherboard matters, check its internal headers against the front-panel connections you want to use. Port presence on the case does not establish that your board can connect every port as specified.
Make the Purchase Decision from One Complete Layout
Before ordering the case or changing an owned cooler, write down the radiator body’s length and width, the thickness of the radiator with its intended fans, and which of the two complete top envelopes that assembly meets. If it meets neither, do not rely on the “280mm” designation to make it fit. A shorter assembly can use the thicker published option; a longer one must stay within the thinner option.
Then check the retained ITX board, SFX or SFX-L PSU, GPU and AIO block together. Sketch or mock up the wall position, tube-exit direction, GPU power-cable route, riser connection, drive locations and front-port headers. This final pass distinguishes a cooler that satisfies the radiator dimensions from a build you can actually assemble and connect. Where a component maker’s dimensions or connector drawings leave a critical clearance unknown, resolve that specific measurement before buying rather than treating the case’s separate maximum figures as a single all-parts guarantee.