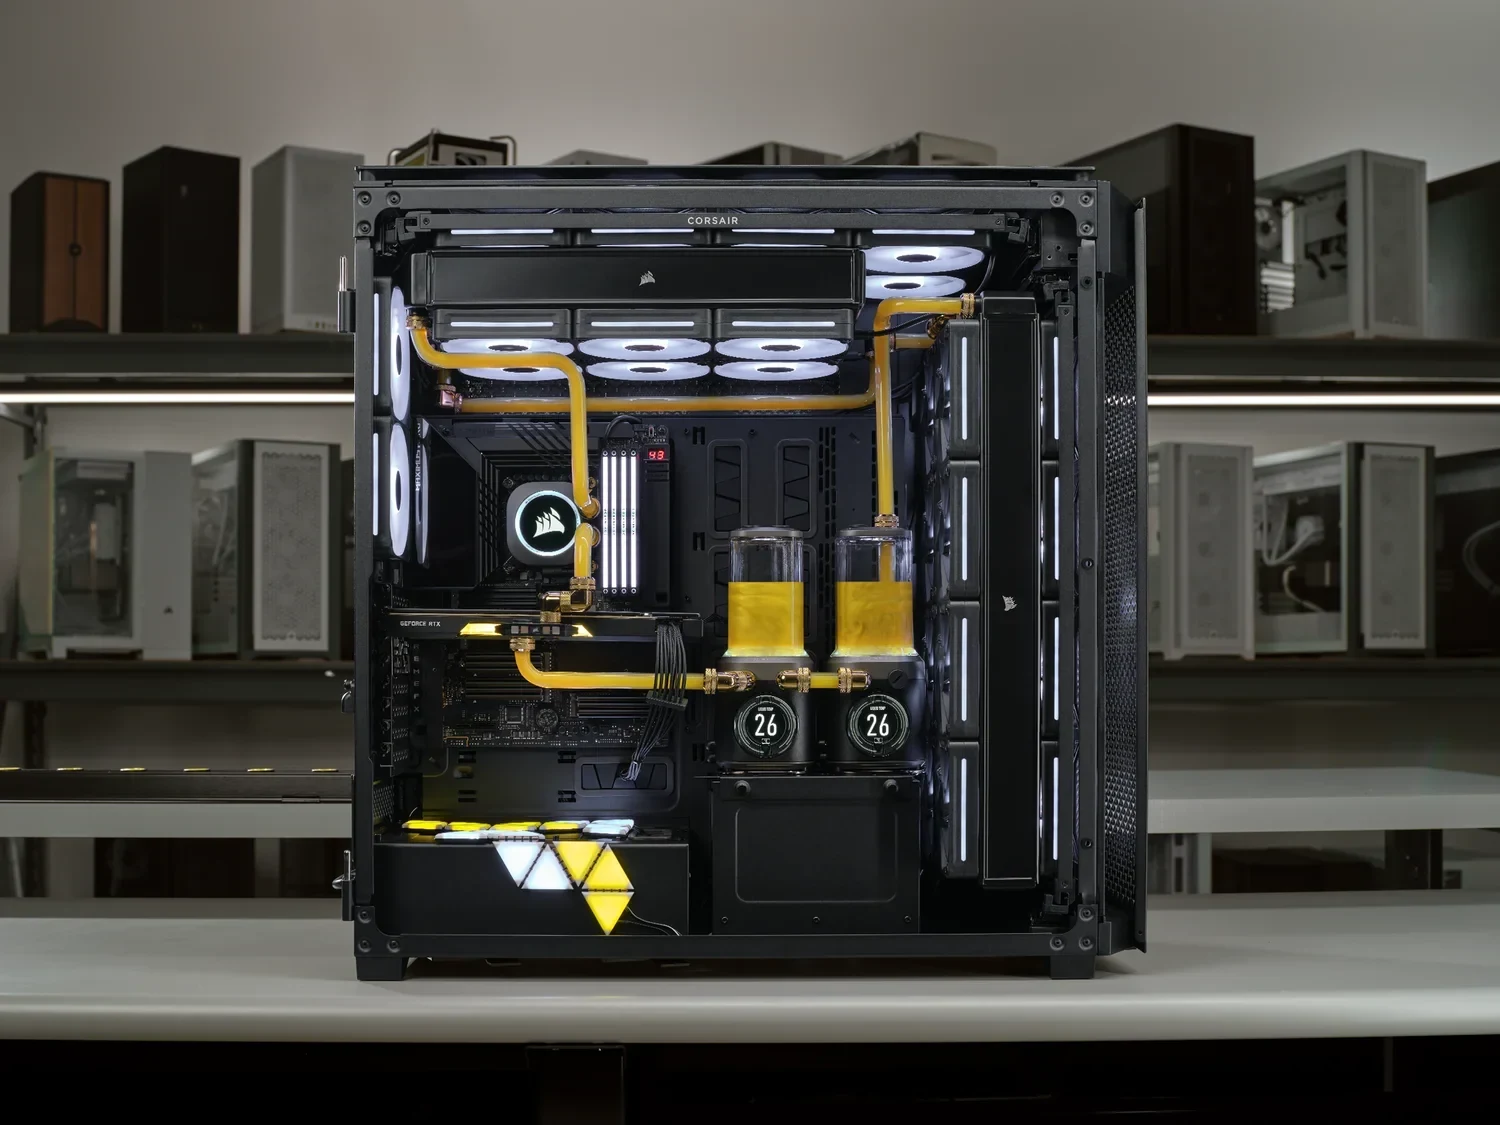
For the CORSAIR 9000D layout described by builder Zotty, the workable starting point is two CORSAIR XR7 480mm Radiators at the front and two XR7 360mm radiators in the top tray. The front and top rails can each hold a pair of XR7 480mm radiators, but the clearance where those positions meet prevents installing both 480mm pairs at once. A rear 240mm radiator is an option; a 360mm radiator on the back wall above the motherboard is a different option that cannot be used alongside radiators in the top tray. Those choices should be settled before ordering fans, fittings or loop hardware.
Choose the Front and Top Positions First
If the goal is to follow Zotty’s four-radiator main layout, allocate the two XR7 480mm radiators to the front rails and the two XR7 360mm radiators to the top. Do not turn the rail specifications into a shopping list for four XR7 480mm radiators: although each location can accept two, the documented clearance conflict means the front pair and top pair cannot coexist in that size. The front-480/top-360 combination is the distinct layout described in the builder’s account.
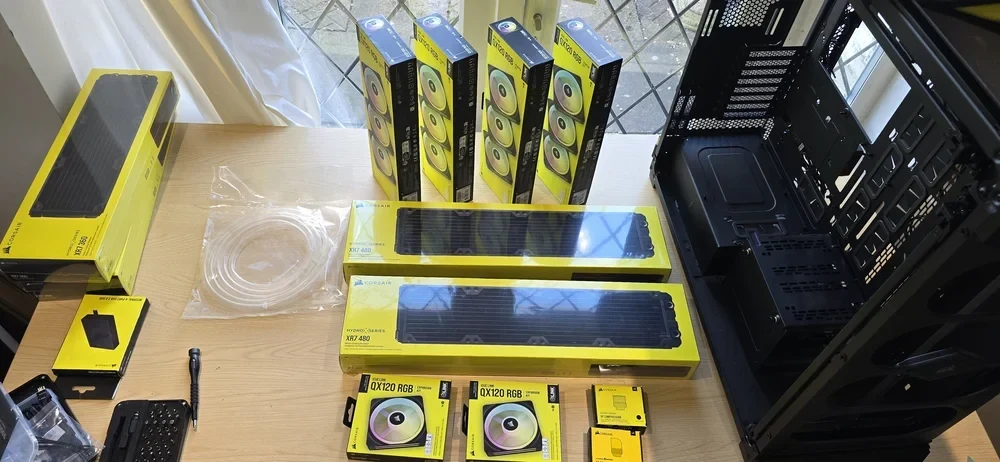
This is a plan for the named CORSAIR radiators, not a clearance promise for other brands, alternative thicknesses or every possible combination of components. It also does not establish how much radiator area either of your systems needs. Start with the radiators you intend to mount, then check the rest of your build—particularly the installed motherboard and the route from each radiator to its pump, reservoir and water blocks—before committing to the optional rear position.
Count Fans by Radiator, Then by Location
Zotty suggests fans on both sides of each thick front XR7 480mm radiator. That means four fans on one side and four on the other: eight per radiator, or 16 for the front pair. The described top XR7 360mm pair also uses fans on both sides, with three per side: six per radiator, or 12 for the top pair. Following that particular push/pull arrangement therefore calls for 28 fans across the front and top radiators. That is an example-specific count, not a rule that every thick radiator needs push/pull or a promise of a particular temperature or noise level.
Fan direction deserves as much attention as fan quantity. On a push/pull radiator, the fans on either side must move air in the same direction through the core rather than oppose one another. Zotty describes front intake and rear exhaust. Decide your intended airflow direction before mounting the fans, and check each fan’s orientation while the rails are still accessible. If you choose a different fan arrangement, recalculate the purchase quantity from that arrangement instead of buying the 28-fan example count automatically.
The rear 2 × 120mm fan mounts are a separate decision. Zotty describes fitting an XR5 or XR7 240mm radiator there in push/pull; two fans per side would add four fans for that configuration. Do not quietly include those four in the front-and-top total, or assume the rear radiator is necessary to complete the main layout.
Distinguish the Two Rear Locations
The rear 240mm option uses the case’s two rear 120mm fan mounts. Zotty says an XR5 or XR7 240mm radiator can be installed there in push/pull, while warning that it may obscure part of the motherboard. That makes it an optional purchase to assess against your actual motherboard and the access you need around it. Decide whether the obstruction is acceptable before adding the radiator, its fans and the connections it will require.
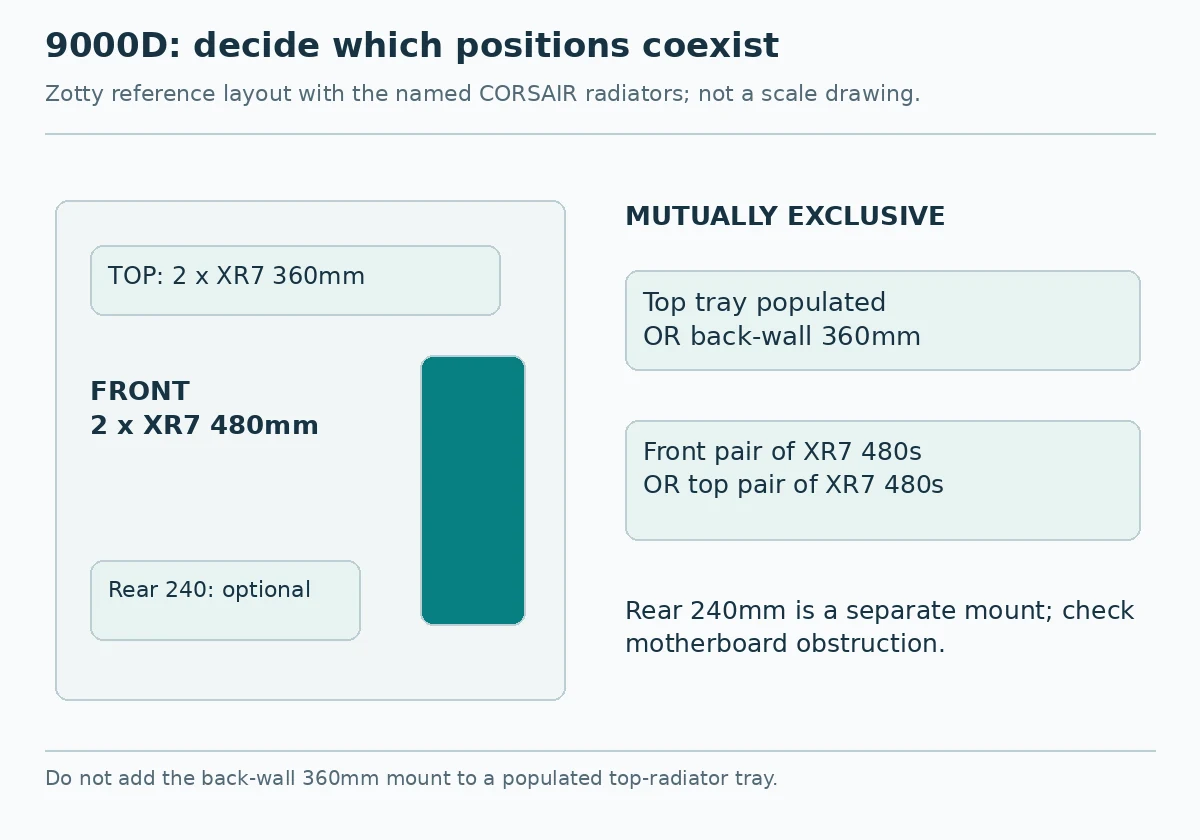
The back-wall 360mm mount is above the motherboard; it is not another name for those rear 120mm mounts. Zotty identifies the XR7 360mm as the largest option for that position and says the mount becomes unusable once radiators are installed in the top tray. In this plan, a populated top tray and a back-wall 360mm radiator are mutually exclusive. If you want the back-wall position, revise the top-radiator plan rather than purchasing a 360mm radiator as an extra for the four-radiator front/top layout.
These exclusions make the order of decisions straightforward: choose whether the top tray or back-wall 360mm mount serves your build; then decide whether the separate rear 240mm mount is worth its possible motherboard obstruction. The optional rear 240mm radiator does not erase the top-versus-back-wall restriction.
Allocate Radiators Between Two Systems Deliberately
The 9000D can accommodate two systems, and Zotty offers two ways to divide the radiators in this layout. One is to put the main system on the front pair and the ITX system on the top pair. Another, if the ITX system will not be under heavy load, is to focus the rear 240mm radiator on the ITX system and have the front and top radiators serve the main system. These are loop-allocation choices, not assurances that either arrangement will cool any particular CPU, GPU or workload adequately.
For example, a builder who wants to keep the systems’ cooling circuits separate could sketch one loop through the two front 480s and another through the two top 360s. A builder considering the 240mm radiator for the ITX system instead must first accept its rear-mount obstruction and then plan how that system’s blocks and pump connect to it. In either case, label which radiator pair belongs to which loop before buying the remaining plumbing. That avoids purchasing pair-to-pair fittings for a connection you do not intend to make, or overlooking the connections needed beyond the radiators.
Plan the Short Connections—and Assemble Each Pair Off the Case
For a connected pair of radiators, Zotty specifies one 50mm length of tube, two CORSAIR XF Hardline Fittings and two CORSAIR 90 degree XF Rotary adapters. If you connect both the front pair and the top pair as described, plan that set of parts for each pair. The 50mm piece describes the documented connection; it does not establish every tube length, tubing diameter or fitting choice elsewhere in your loops. Match the tubing and connections you actually buy to your selected hardware.
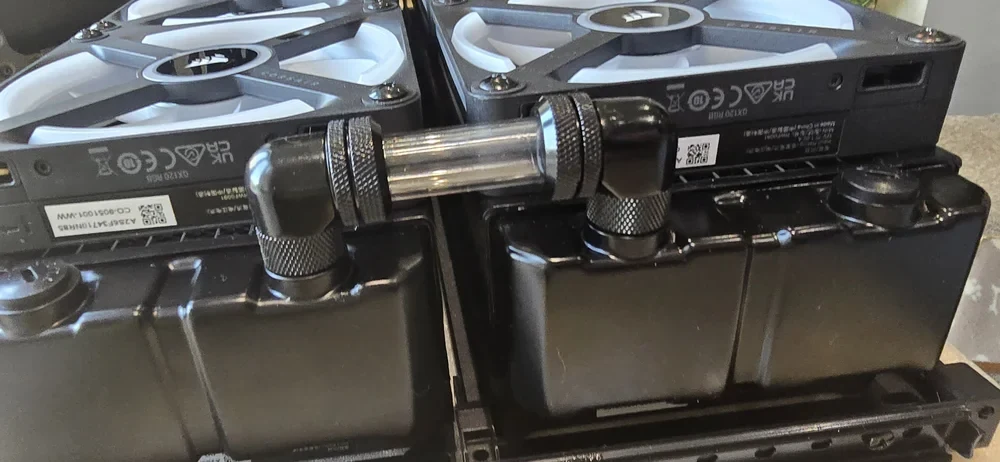
Assembly order matters because the paired connection is made in the removable rails. Zotty advises releasing the levers on each side, taking the rails out of the chassis and laying them flat on a workbench. Remove the outer rail, then install the first radiator with its fans, fittings and short tube. Slide the second radiator into place so the tube enters its connector; once connected, tighten the fittings. Mount the inner side to the center rail, reattach the outer rail, finish mounting the fans and slide the assembly back into the 9000D. Zotty places front radiator fittings at the bottom and top fittings toward the back, using the rear chamber for tubing routes; those are documented orientation choices, not mandatory port positions for every loop.
For the documented front-and-top push/pull example, the bounded radiator purchase list is two CORSAIR XR7 480mm Radiators, two XR7 360mm radiators and 28 appropriately selected fans. Add two 50mm tube pieces, four CORSAIR XF Hardline Fittings and four CORSAIR 90 degree XF Rotary adapters if both radiator pairs will be connected in the described way. Only if your plan includes it, add an XR5 or XR7 240mm radiator and its planned rear fans. Do not add a back-wall XR7 360mm while retaining the populated top tray. Blocks, pumps, other tubing and fittings, power and fan-control connections still have to be specified for your actual components and loop routes; the radiator layout alone is not a complete cooling-system bill of materials.