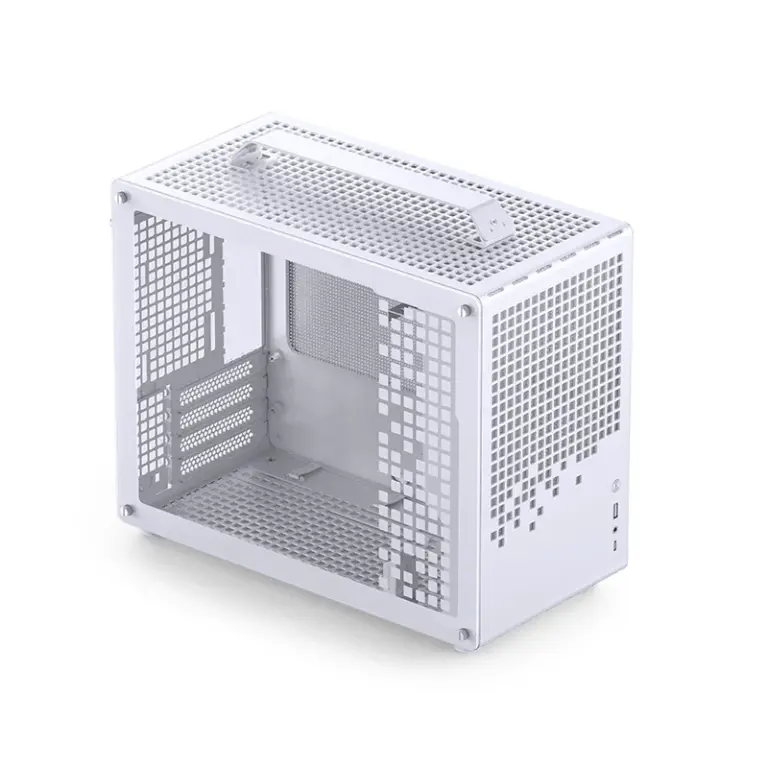
You can move an ITX system into the Meshroom S V2 while keeping an ATX power supply, but you must choose between two substantially different interiors. Put the PSU in front of the motherboard for the three-slot GPU route and more cooling choices. Put it behind the motherboard only if you can use a small rear-mounted GPU and a very low air cooler. The second route releases front space for drives or airflow; it does not preserve the first route's graphics-card and cooling allowances.
Start with the parts already on your desk. A shorter replacement PSU is useful only if it solves a specific conflict, and keeping your current PSU is worthwhile only if the rest of the system still works in the selected arrangement.
Choose the Tray Position Before Comparing Components
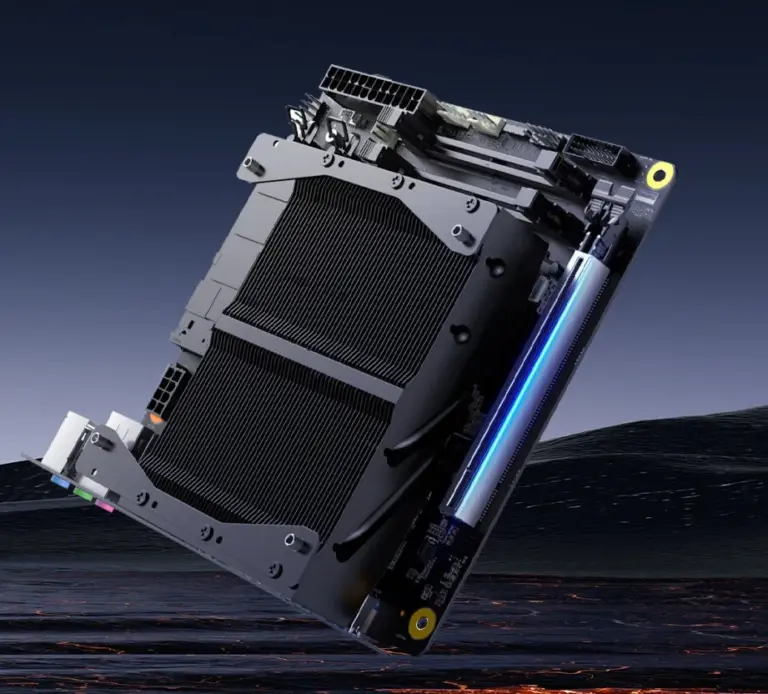
The motherboard is Mini-ITX, 170 × 170 mm, in both routes. What changes is the tray position and which side of it must accommodate the power supply. SSUPD's ITX-with-ATX-PSU guide makes the following distinction.
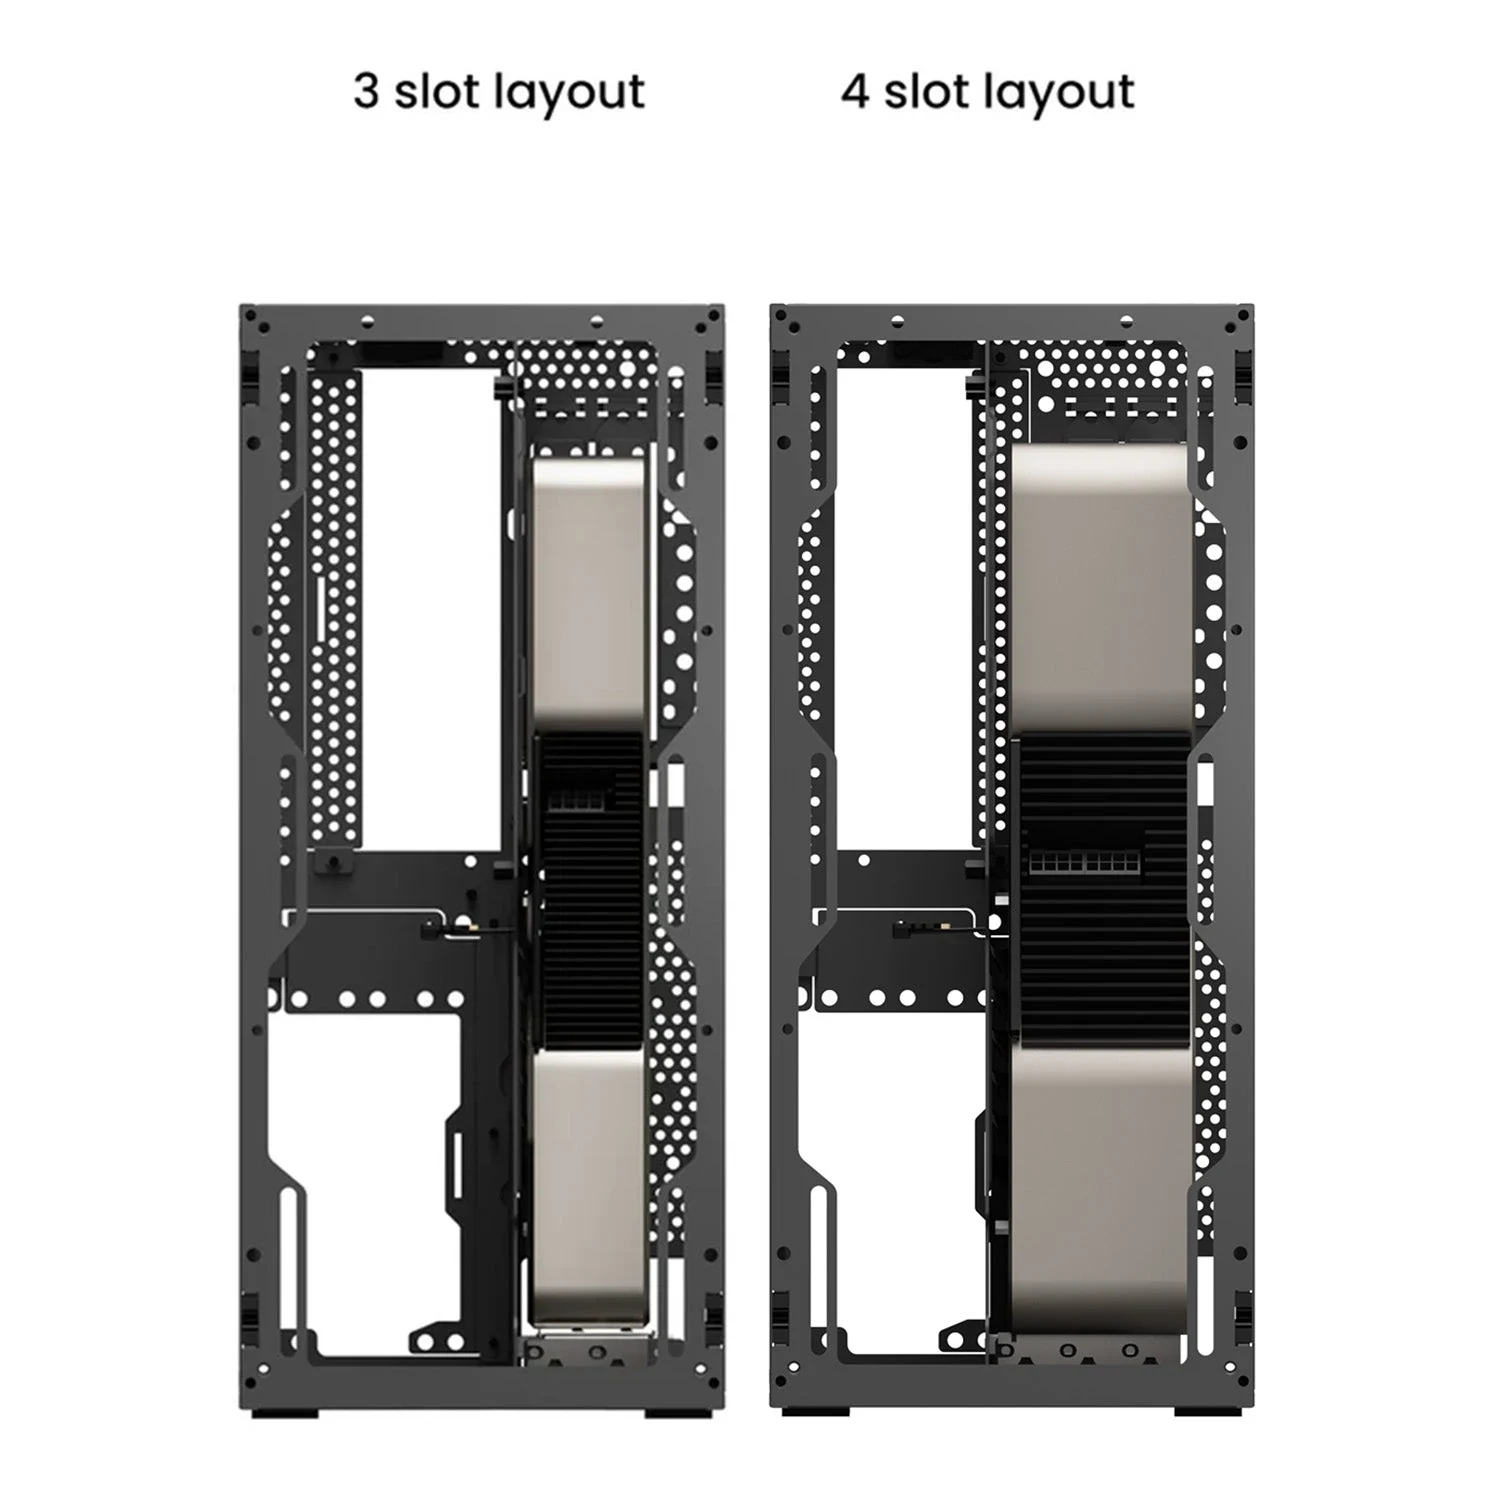
| Decision | PSU in front of motherboard | PSU behind motherboard |
|---|---|---|
| Required tray position | Three-slot | Four-slot |
| GPU route | Up to three slots, 63 mm thick | Small-form-factor GPU in the rear position |
| CPU air-cooler height to plan around | Below 74 mm | Below 54 mm |
| Front AIO | Possible, subject to PSU length and assembly thickness | Not supported in this route |
| Main reason to choose it | Keep a larger GPU and more cooling options | Free front space while accepting compact GPU and air cooling |
Here, four-slot describes the tray setting, not permission to put a four-slot graphics card beside a rear-mounted ATX PSU. The component occupying that chamber has changed. Treating the case's general four-slot GPU specification as an allowance for this combination would select the wrong build.
Before choosing, record the PSU's exact model and body length, the GPU's length, height and thickness, the CPU cooler's complete installed height, and any radiator-plus-fan thickness. Also list SATA drives, motherboard headers and monitor connections. Those details determine whether the migration retains a working system rather than merely accommodating two large parts.
Route One: Keep the PSU in Front and the GPU Within Three Slots
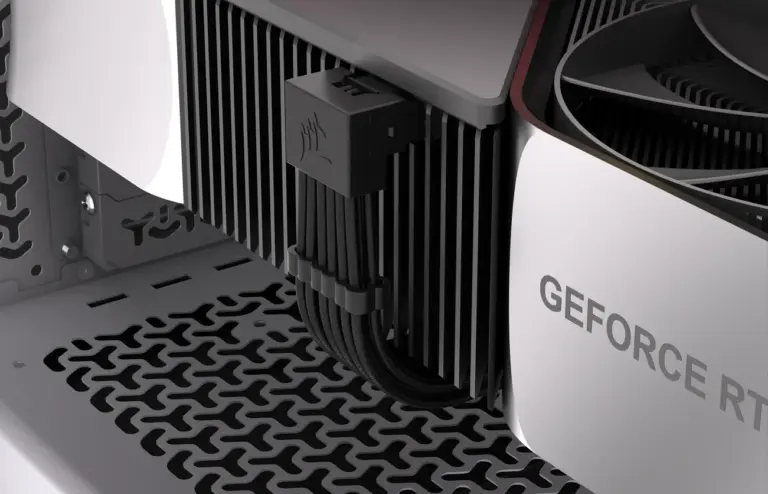
This is SSUPD's recommended starting layout for ITX plus ATX power. It requires the three-slot tray position and excludes four-slot GPUs. For the normal rear GPU position, the layout guide gives a 332 mm length limit; the product's corresponding three-slot specification is 332 × 153 × 63 mm. Compare all three dimensions of your exact card, then check the installed power connector and cable route. A card's length alone cannot establish that the remaining space is usable.
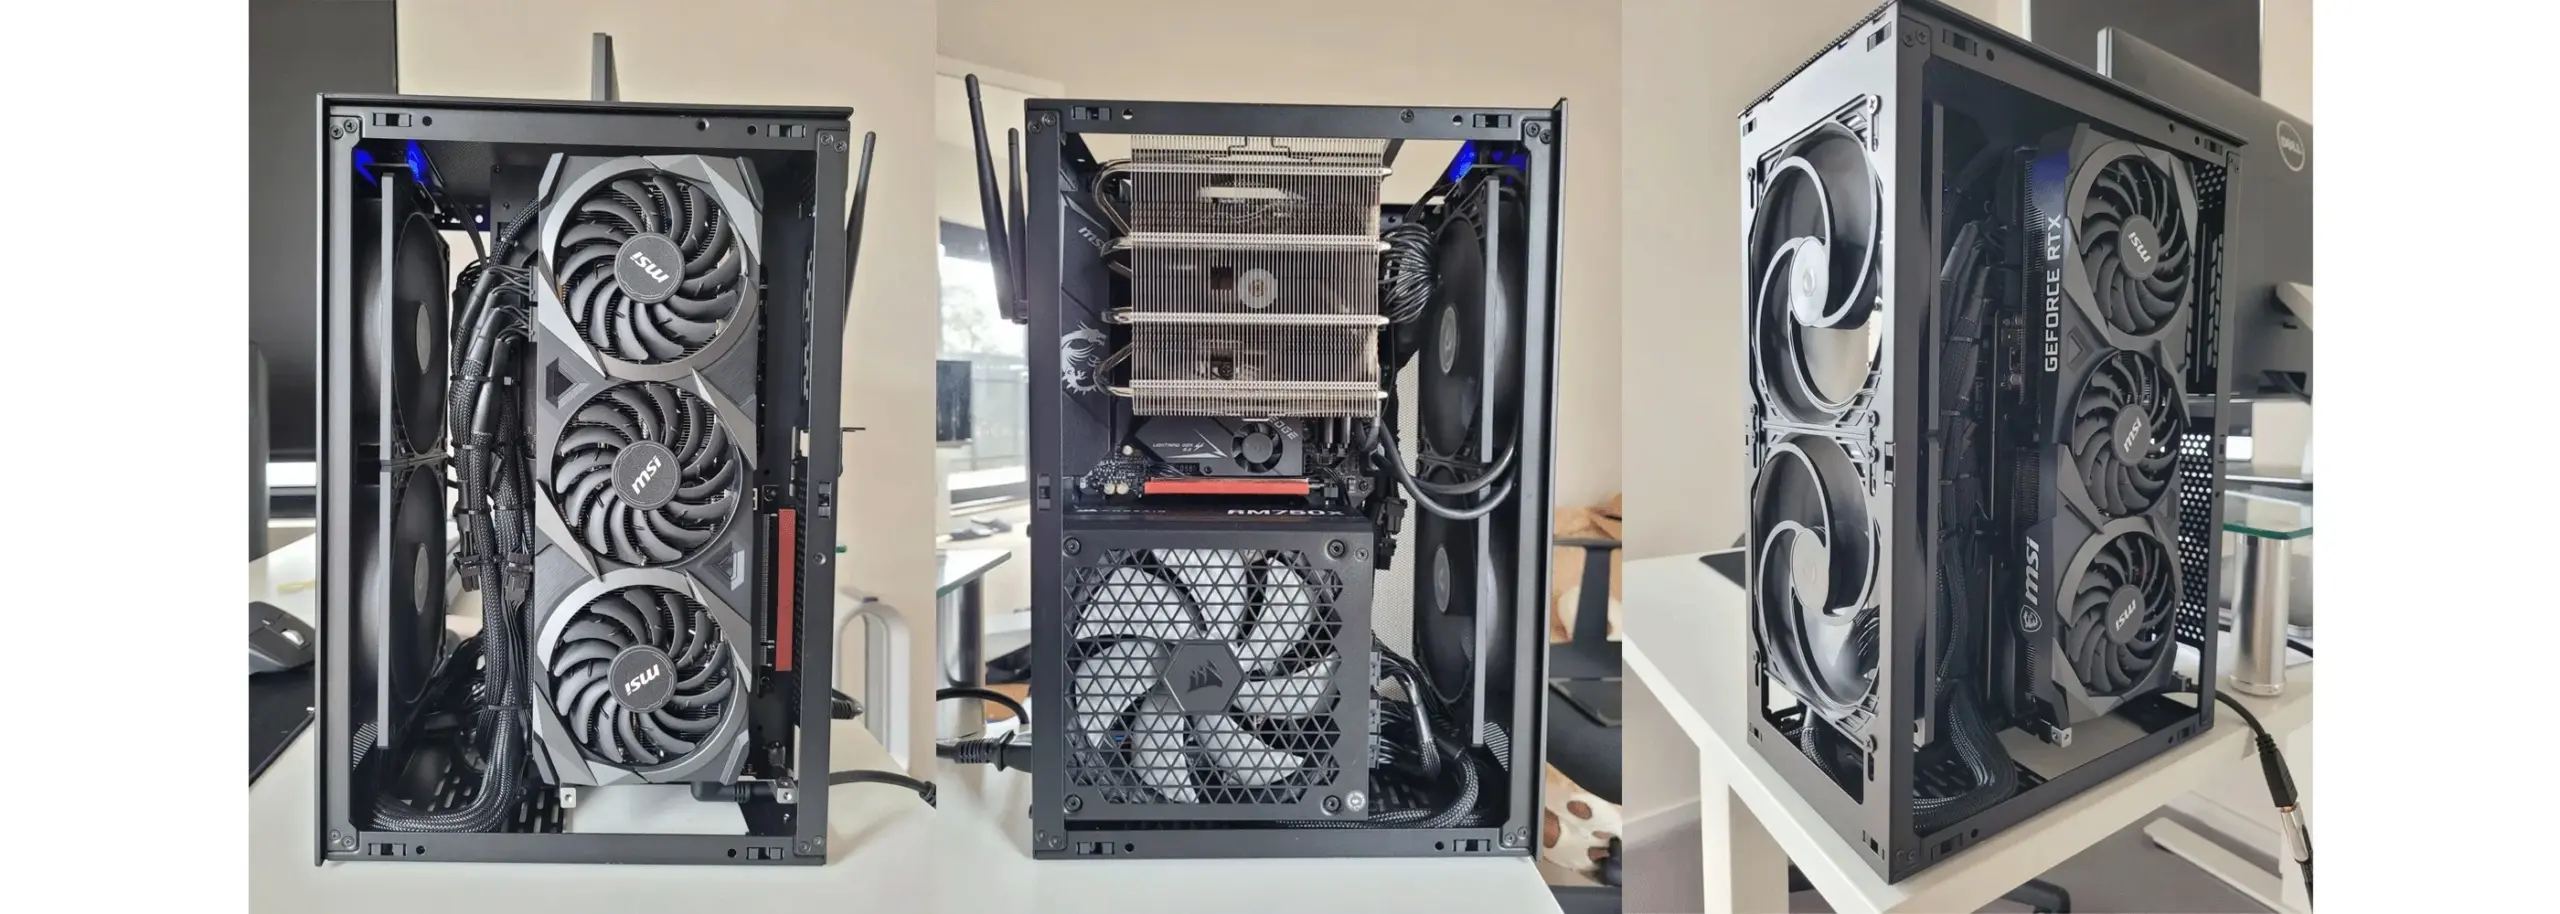
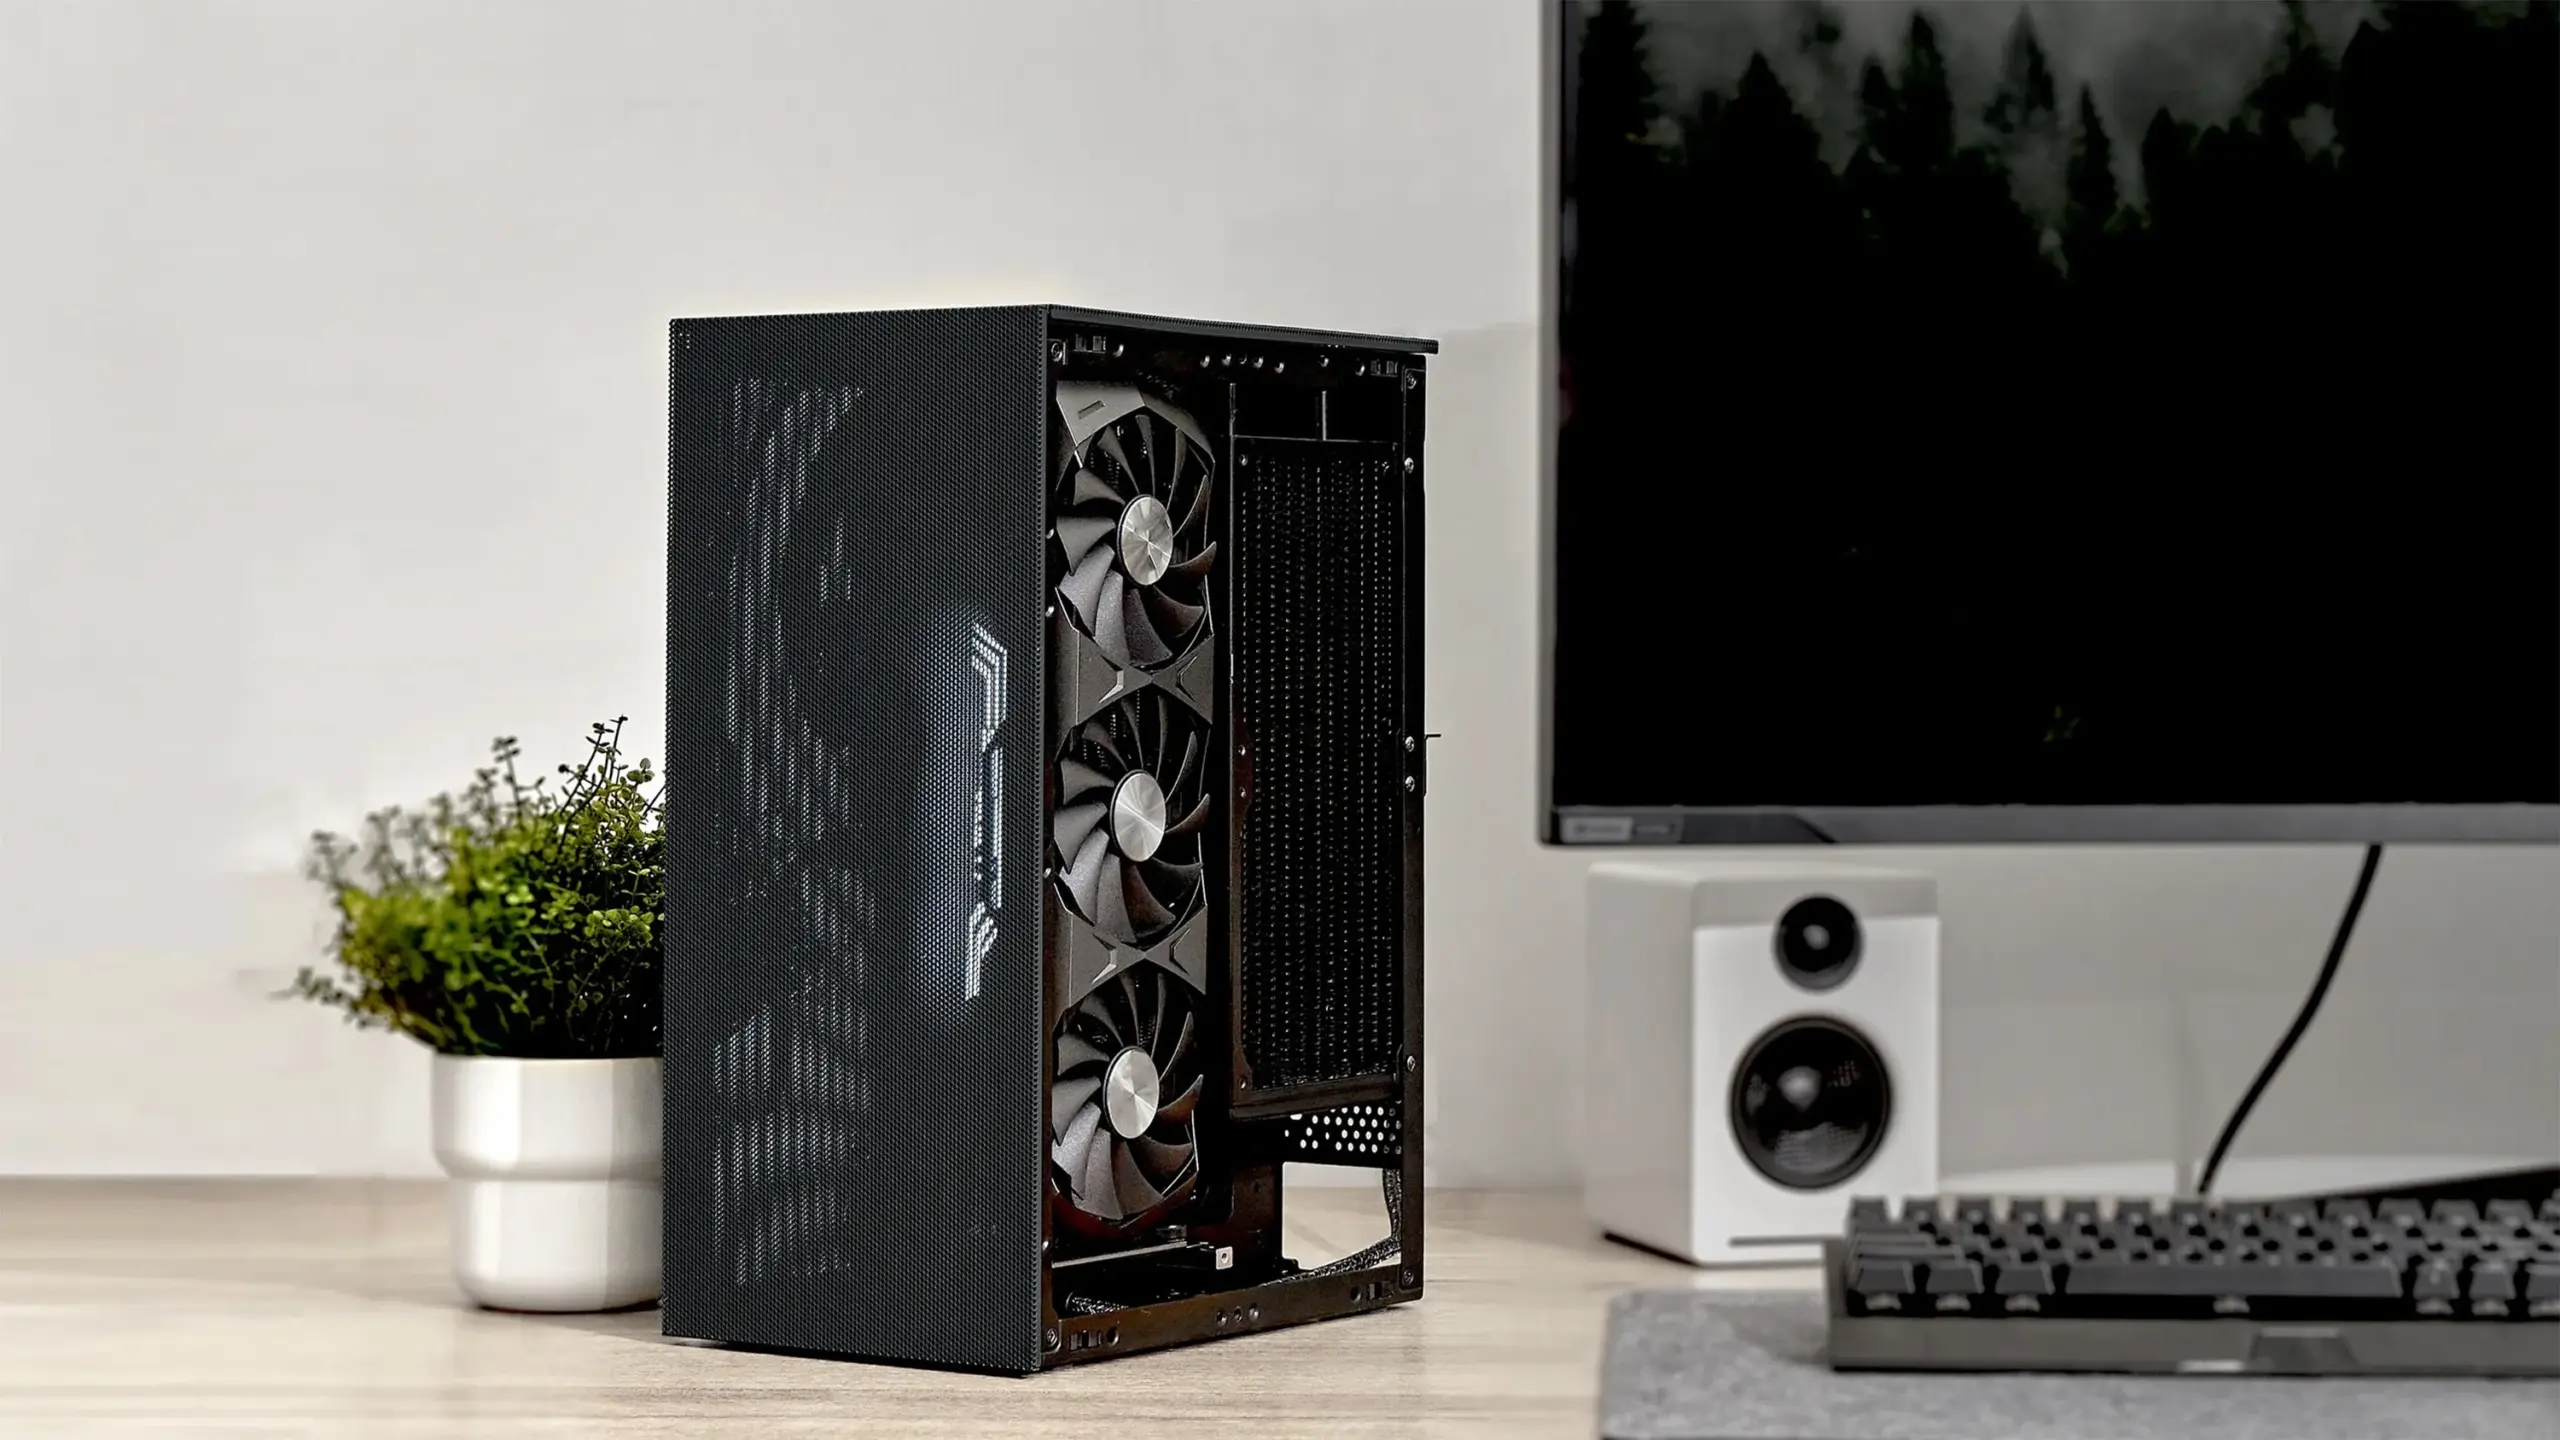
The real build views show why this arrangement is attractive for retention: a long card occupies one side, while the CPU cooler and full-size PSU occupy the other. They also show how little the visible fan count tells you about component clearance. Use the measurements for your actual parts rather than identifying a similar-looking card in a photograph.
If your existing GPU exceeds 63 mm in thickness, this route does not become valid because the case can be rearranged for a larger GPU in another configuration. You would need to change the component or choose a different complete arrangement. Moving the PSU behind the tray is not a four-slot-card workaround; that route calls for a small rear GPU.
For CPU air cooling, use the layout guide's below-74-mm condition. The product page describes the nominal three-slot allowance as up to 74 mm, but choosing a cooler right on that boundary deserves an exact-fit check. Height is only the first filter: confirm socket mounting, motherboard clearance and suitability for the retained processor before buying a shorter cooler.
Extra feet and a front GPU position require separate attention. The layout guide and general product page disagree on some extended-length figures: 352 versus 353 mm at the rear with feet, and differing front-position limits. Do not combine the most generous numbers into a new specification. If your card needs either exception, send SSUPD the exact card dimensions, PSU length, tray setting and intended GPU position before ordering the case or feet. The ordinary 332 mm rear-position figure is the consistent starting point, not a guarantee for an undocumented exception.
PSU Length Decides Whether the Front AIO Survives
An ATX PSU that fits the case can still block the radiator you wanted to keep. The ITX layout guide separates three power-supply lengths, with different consequences for front cooling.
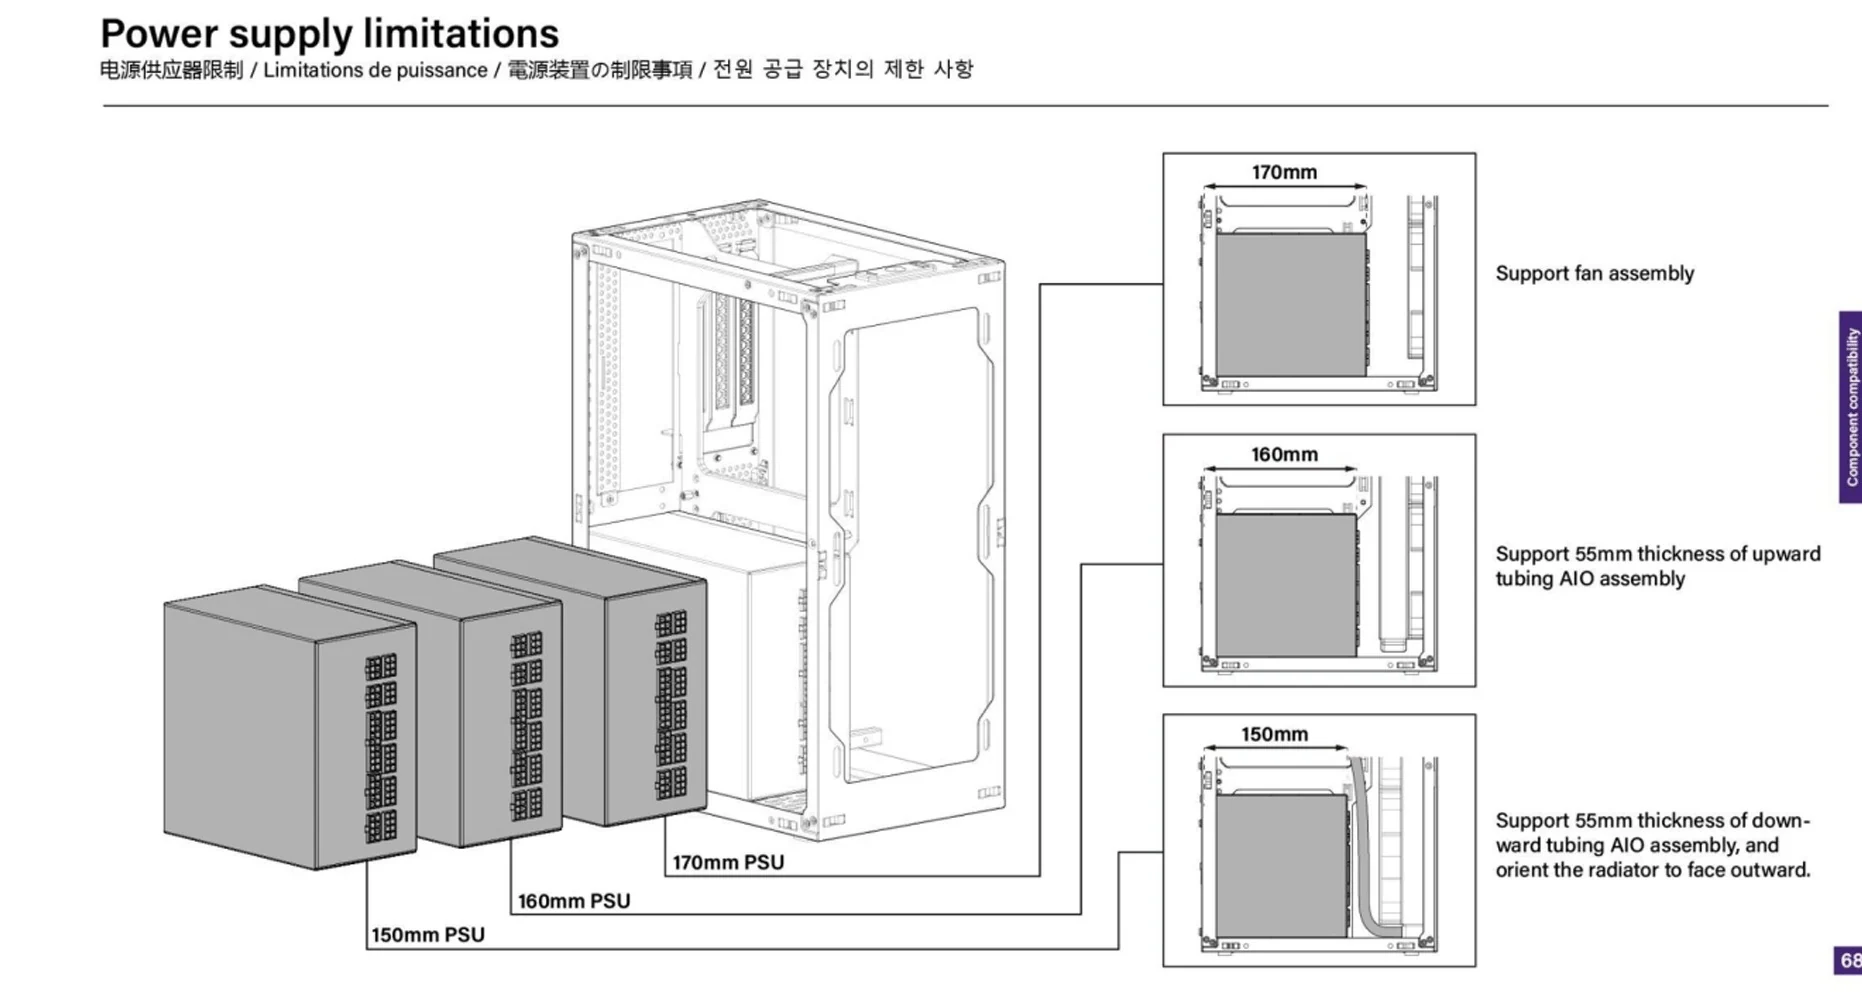
| ATX PSU body length | Front cooling arrangement described by SSUPD | What to check in your retained parts |
|---|---|---|
| 170 mm | Fans only; front AIO blocked | Use a suitable low air cooler if keeping this PSU |
| 160 mm | AIO with tubes leaving upward, up to 55 mm assembly thickness | Radiator and fans together, plus the required tube orientation |
| 150 mm | AIO with tubes leaving downward, up to 55 mm assembly thickness; radiator faces outward | Complete stack, radiator orientation and reachable tube path |
The native clearance drawing makes the PSU bodies and the radiator space visible. Its 55 mm figure applies to the radiator-and-fan assembly. The case's general front-cooling specification allows a thicker 63 mm assembly, but that general number is not the allowance for these ATX-PSU combinations.
For example, suppose you already own a 160 mm ATX PSU and a 280 mm AIO whose radiator and fans total 60 mm. The AIO's nominal size is supported in principle, but this assembly exceeds the layout's 55 mm limit. Buying the case because both “ATX PSU” and “280 mm AIO” appear in its specifications leaves the conflict unresolved.
You could keep that PSU with appropriate air cooling, or select a cooling assembly that satisfies the complete front arrangement. A new 150 mm PSU does not by itself rescue a 60 mm stack: the guide still specifies 55 mm for that branch. Decide which retained component matters before buying either replacement.
For the 150 mm arrangement, do not treat downward tubes as an optional photographic preference; the guide also calls for the radiator to face outward. Lay out the assembly, tube exits and PSU cable ends together. The general product envelope for front radiators and fans is 326 mm long and 144 mm wide, but satisfying that envelope still leaves the tighter PSU-dependent thickness and orientation requirements.
The guide supports front AIO sizes up to 280 mm in this route. If your PSU length is not one of the listed examples, do not invent an intermediate thickness allowance or assume that turning the radiator will solve the interference. Ask about that exact combination. SSUPD identifies a 150 mm ATX PSU as the most flexible of the illustrated lengths; that is a layout advantage, not a reason to discard a suitable longer PSU from an air-cooled build.
Route Two: Move the PSU Behind the Tray and Accept the Smaller GPU
The rear-PSU route requires the four-slot tray position, a small-form-factor GPU mounted at the rear, and compact air cooling. The ITX guide rules out an AIO here. Its summary uses below 54 mm for the CPU cooler; use that stricter planning boundary rather than carrying over the front route's below-74-mm space.
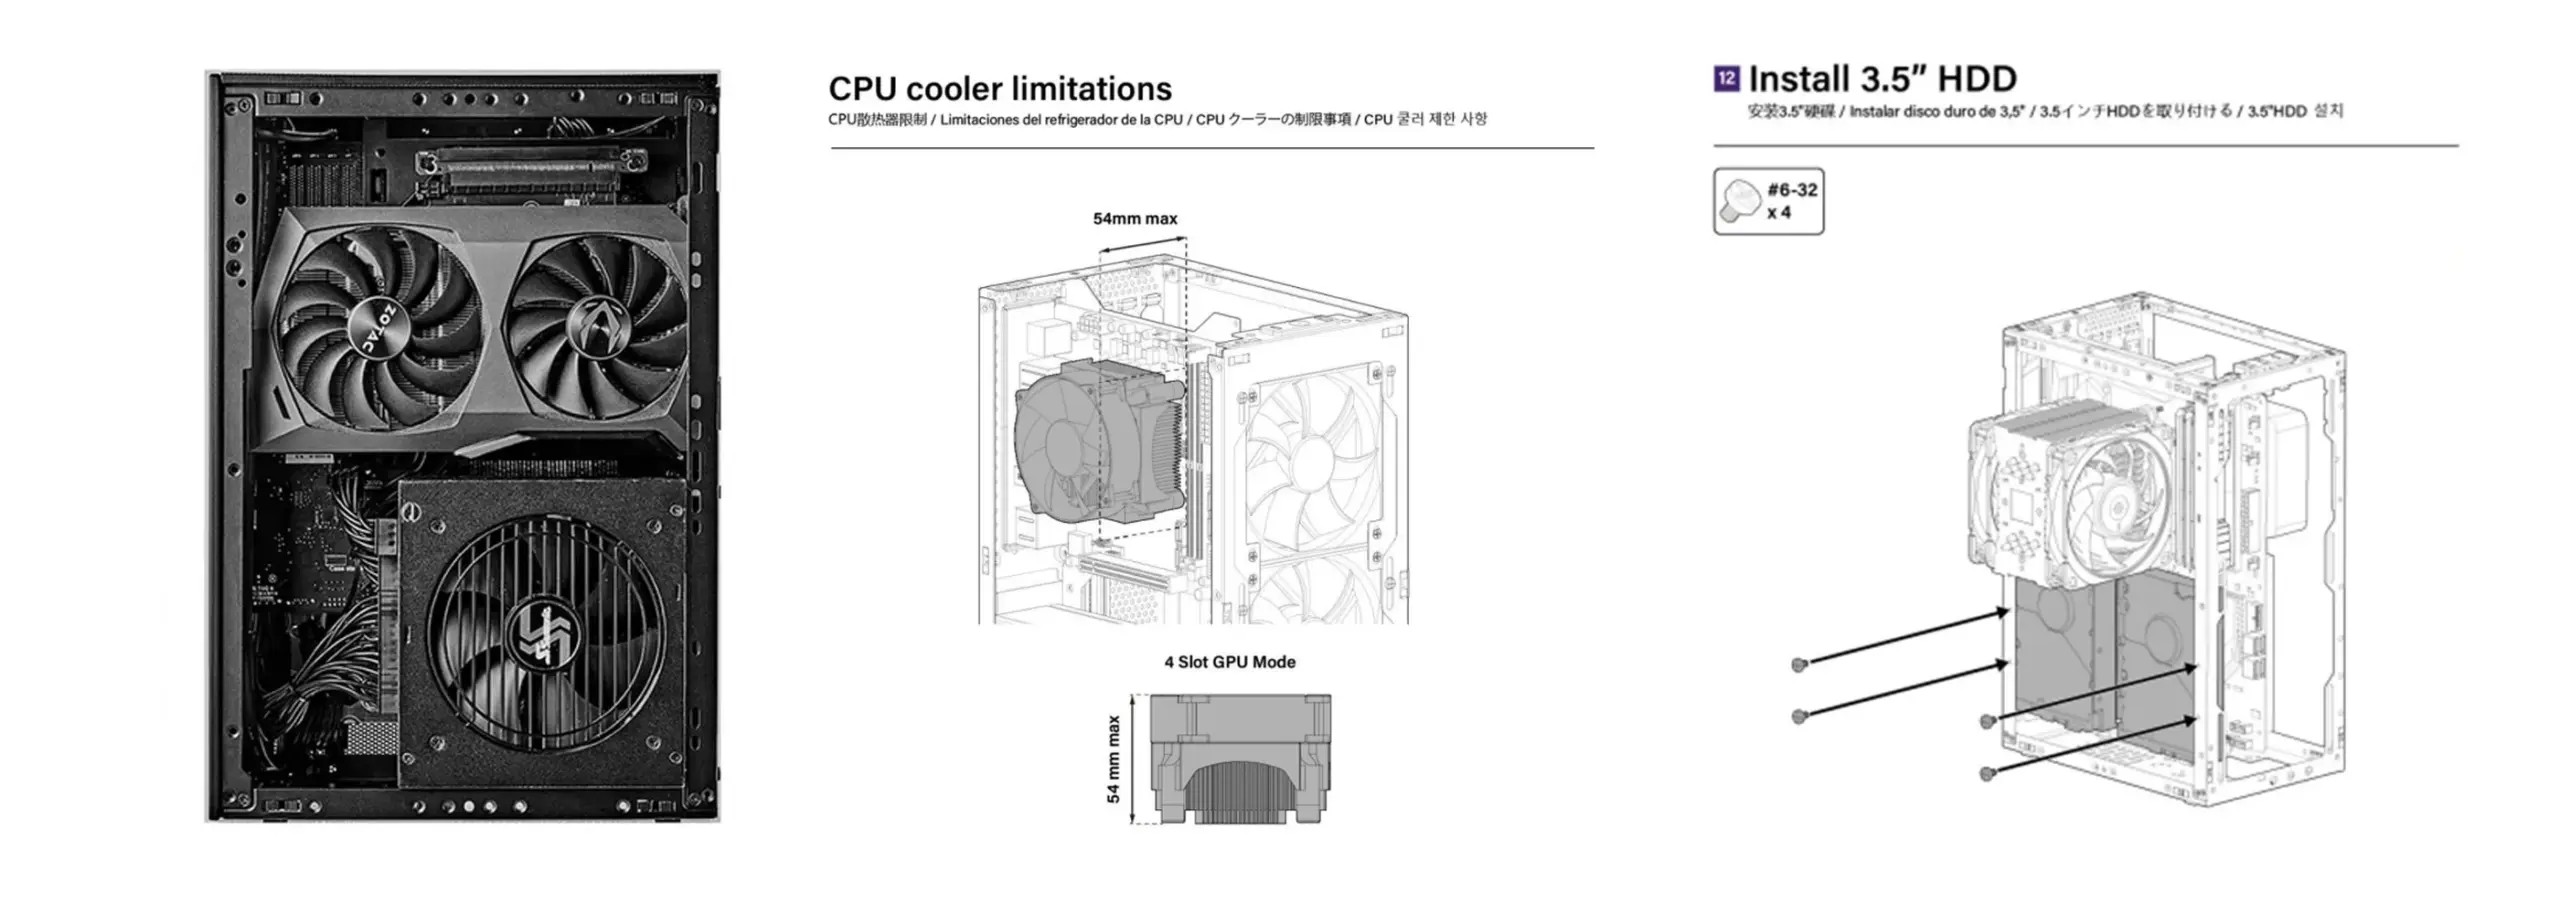
The accompanying real build image shows a compact card above the PSU, and the native illustration places a hard drive in the front space below the CPU cooler. That is the useful exchange: the front becomes available for a different storage and airflow arrangement while the GPU and CPU cooling become more constrained. It is not an otherwise identical build with the PSU moved out of sight.
For example, an existing 67 mm CPU cooler clears the first route's stated height boundary but does not clear the second's. Even if the small GPU and ATX PSU can be retained, that cooler must change before the rear-PSU plan is complete. An existing AIO also needs replacement with suitable compact air cooling; moving its radiator elsewhere would be a different configuration requiring its own support.
“Small-form-factor GPU” is a requirement, not a universal card dimension. Verify the exact rear-mounted card, its connector and the PSU's occupied space. Do not take a length from the product's separate horizontal-GPU specification and certify it for this rear-PSU arrangement. Likewise, the case's general 82 mm four-slot GPU thickness is not available merely because the tray is in four-slot mode.
Choose this route when the compact GPU already suits the machine and the front space has a useful job. If it would force you to replace a suitable long GPU, an AIO and a cooler simply to preserve the PSU, compare the whole replacement list before committing.
Carry the Drives Across as a Layout, Not a Maximum Count
Count the actual SATA devices you need to retain, including their dimensions and thicknesses. Then assign each one to a supported mounting position in the chosen arrangement, with a route for both SATA power and data. A drive that fits mechanically still needs an available motherboard port and connectors that can be reached after the GPU, PSU and cooling assembly are installed.
The product's specification table lists drive mounts by GPU position, while the headline storage claims describe broader case possibilities. Neither is a promise that every quoted maximum coexists with your ITX board, ATX PSU and front cooling. Do not order around a combined total of eight SSDs and four hard drives.
Moving the PSU behind the tray can free the front for drives, but it is not the only way to gain storage space. The ITX guide also notes that using a small GPU in the front-PSU route can release room for drives. Compare that option if it lets you retain a useful air cooler instead of accepting the rear route's lower height limit.
The advanced Variant B manual's hard-drive illustration is a useful physical reference for the front mounting area and its four #6-32 screws. It belongs to the manual's ATX/mATX-with-ATX-PSU section; use the ITX-specific guide to choose your layout, and confirm the drive positions for that exact combination. The illustration alone does not prove a particular multi-drive ITX arrangement.
A complete carry-over list should therefore identify the drives you will keep, their actual mounts and fixing hardware, the SATA ports they will use, and the power/data cable paths. If those cannot yet be assigned, leave storage fit as an open item rather than buying extra drives to match an advertised maximum.
Finish the Case Version, Riser and Display Connections
Check the seller's exact variant before assuming the front panel will match an older photograph. Variant A has two front USB-A ports and a Type-C port specified at 10 Gbps, with the power button at the rear. Variant B puts the power button at the front, alongside one USB-A and a Type-C port specified at 20 Gbps. The visible port and button changes are clear in SSUPD's close-up.
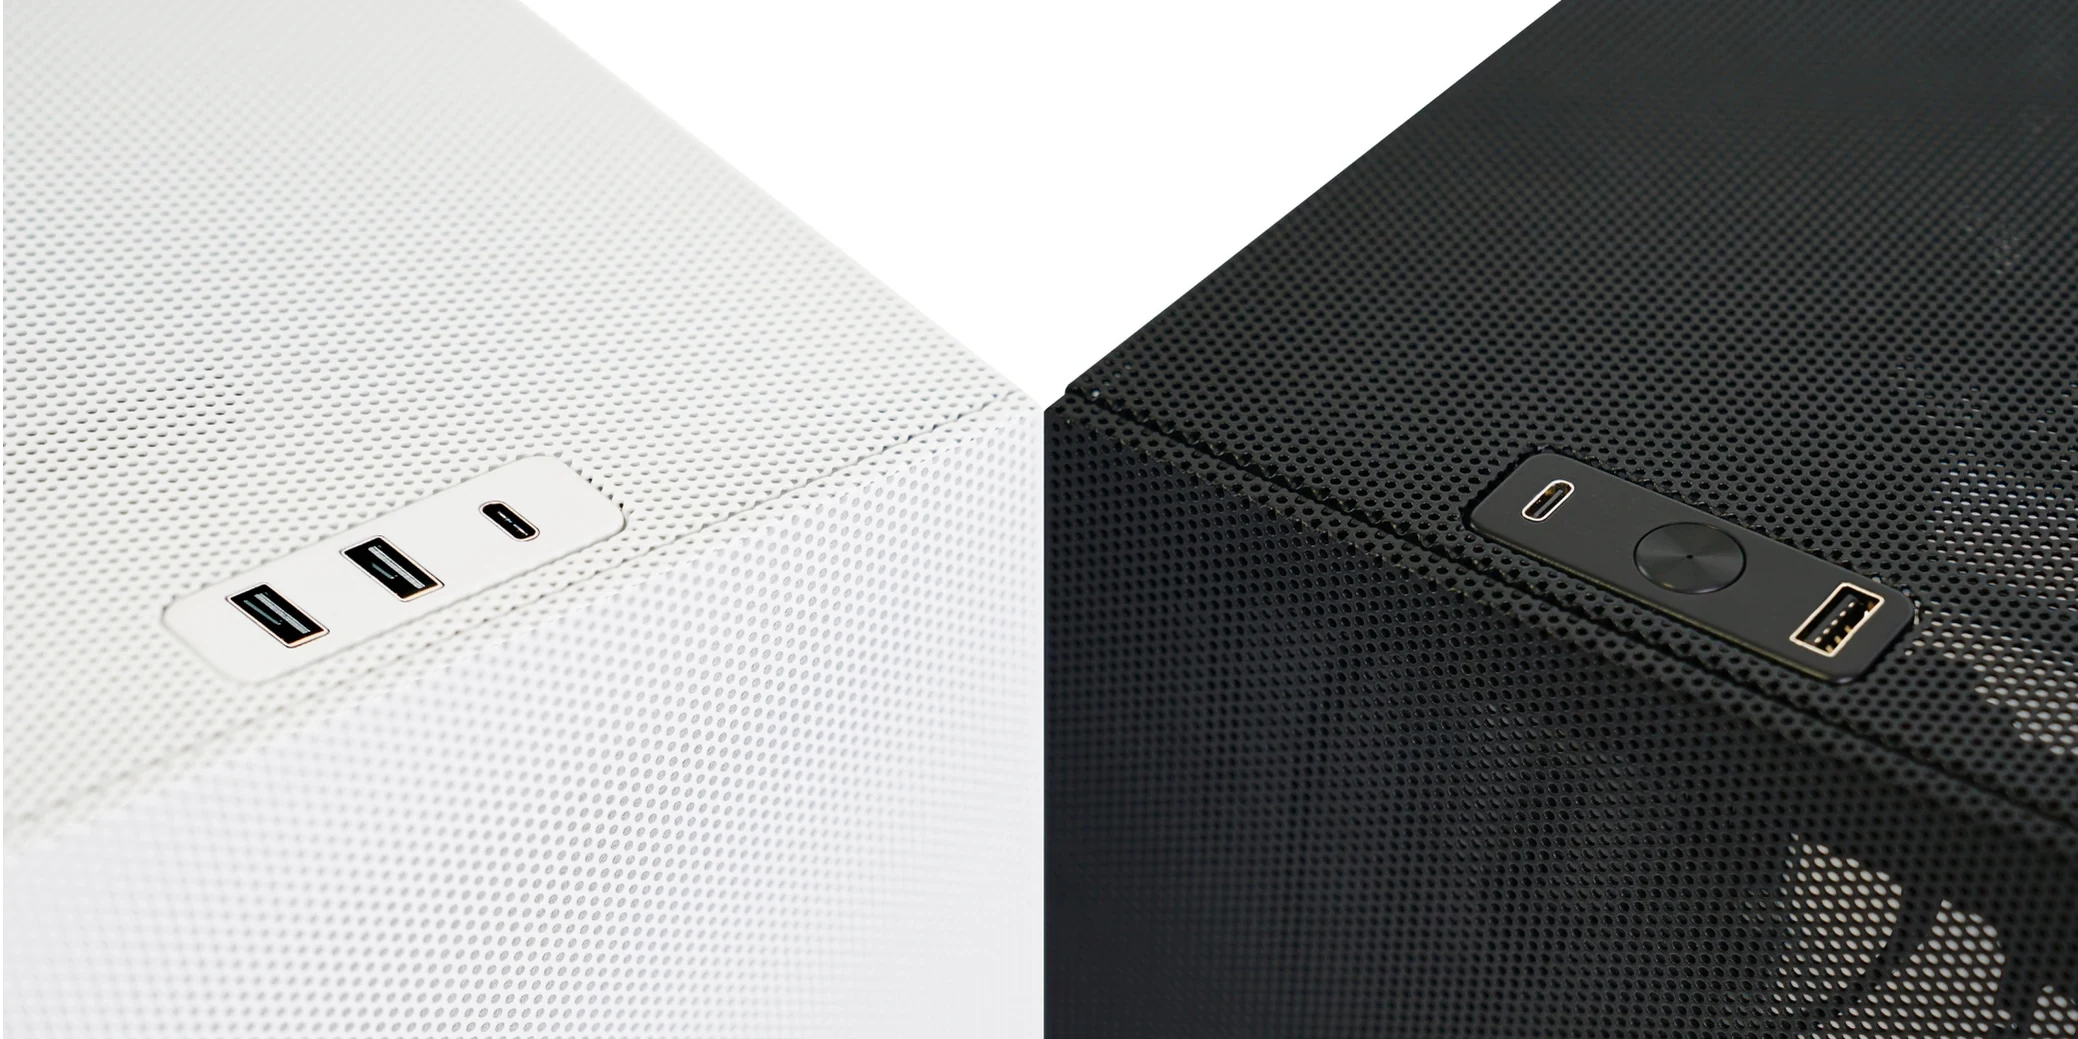
Your retained motherboard still needs the matching internal connections. A faster advertised case port does not add a missing motherboard header or automatically give an older board that data rate. Check the board manual before including a header adapter or replacement board in the shopping list.
Riser contents also follow the exact case option. The product documentation distinguishes no-riser, PCIe 4.0 and PCIe 5.0 versions; the current selector must be checked for what is actually offered. The PCIe 5.0 riser version is described with a 200 mm female reverse-connector cable. Confirm the supplied cable against your ITX GPU position rather than borrowing a riser length from a full-size-motherboard build. A no-riser purchase needs a separately confirmed suitable cable.
SSUPD also describes an included right-angle DisplayPort 1.4 extension. Verify its presence in the exact package, then check the GPU output, connector direction, exit clearance and connection your monitor actually needs. Do not assume that a DisplayPort accessory solves an HDMI-only connection or guarantees every advertised resolution and refresh mode throughout your display chain.
Finally, the case is specified at 247 × 167 × 365 mm with feet. Allow room for the installed display and power leads as well as the enclosure. Its roughly 15-liter volume is not the complete occupied desk space.
Turn the Chosen Route Into a Complete Purchase Decision
Use the component list to separate retention from a genuinely necessary purchase.
| Existing system | Route worth checking first | Keep, replace or confirm before ordering |
|---|---|---|
| Long three-slot GPU, suitable low air cooler, 170 mm ATX PSU | Front PSU, three-slot tray | Keep those parts if their exact dimensions clear; plan front fans rather than a retained AIO |
| Three-slot GPU, 160 mm PSU, retained AIO | Front PSU, three-slot tray | Confirm upward tubes and no more than 55 mm radiator-plus-fan stack; replace or change cooling if it fails |
| Small rear GPU, suitable cooler below 54 mm, SATA drives needing front room | Rear PSU, four-slot tray | Confirm exact GPU/PSU coexistence and each drive mount; retain compact air cooling, not an AIO |
These are conditional starting points, not complete compatibility certificates for unnamed products. Add the exact case variant and riser option, cooler mounting kit, necessary drive fixings, display connection and any genuinely required feet or adapters. Retain the PSU's correct cables and verify any replacement modular leads against that exact PSU; solving a tight cable path is not a reason to substitute an unidentified cable set.
If the front-PSU route retains the GPU and suitable cooling you already own, it is the natural first choice. Choose the rear-PSU route when its compact GPU, lower cooler and useful front space make sense together. The right purchase is the smallest supported set of changes that completes your particular machine—not simply the arrangement that lets the largest individual specification stay on the list.